Monday, January 22, 2024

Plans for 2024


So in my last post I reviewed 2023, this post outlines my plans and hopes for 2024.


As with last year I’ve created an Ovelist. An Ovelist is a simple collage of images, each one representing a task, job or activity I intend to do. It is named after its creator Andy Ovel from the Hobby Support Group podcast and is an excellent way of tracking progress and focussing activity. 
It’s intended to be a living document and can be added to, removed from or amended throughout the year. I don’t intend that it should become a mill stone around my neck. As you progress, ticks can be added to tasks completed and it should help visualise the progress and achievements that can get all too easily lost in the ether.

Omaha Beach Board

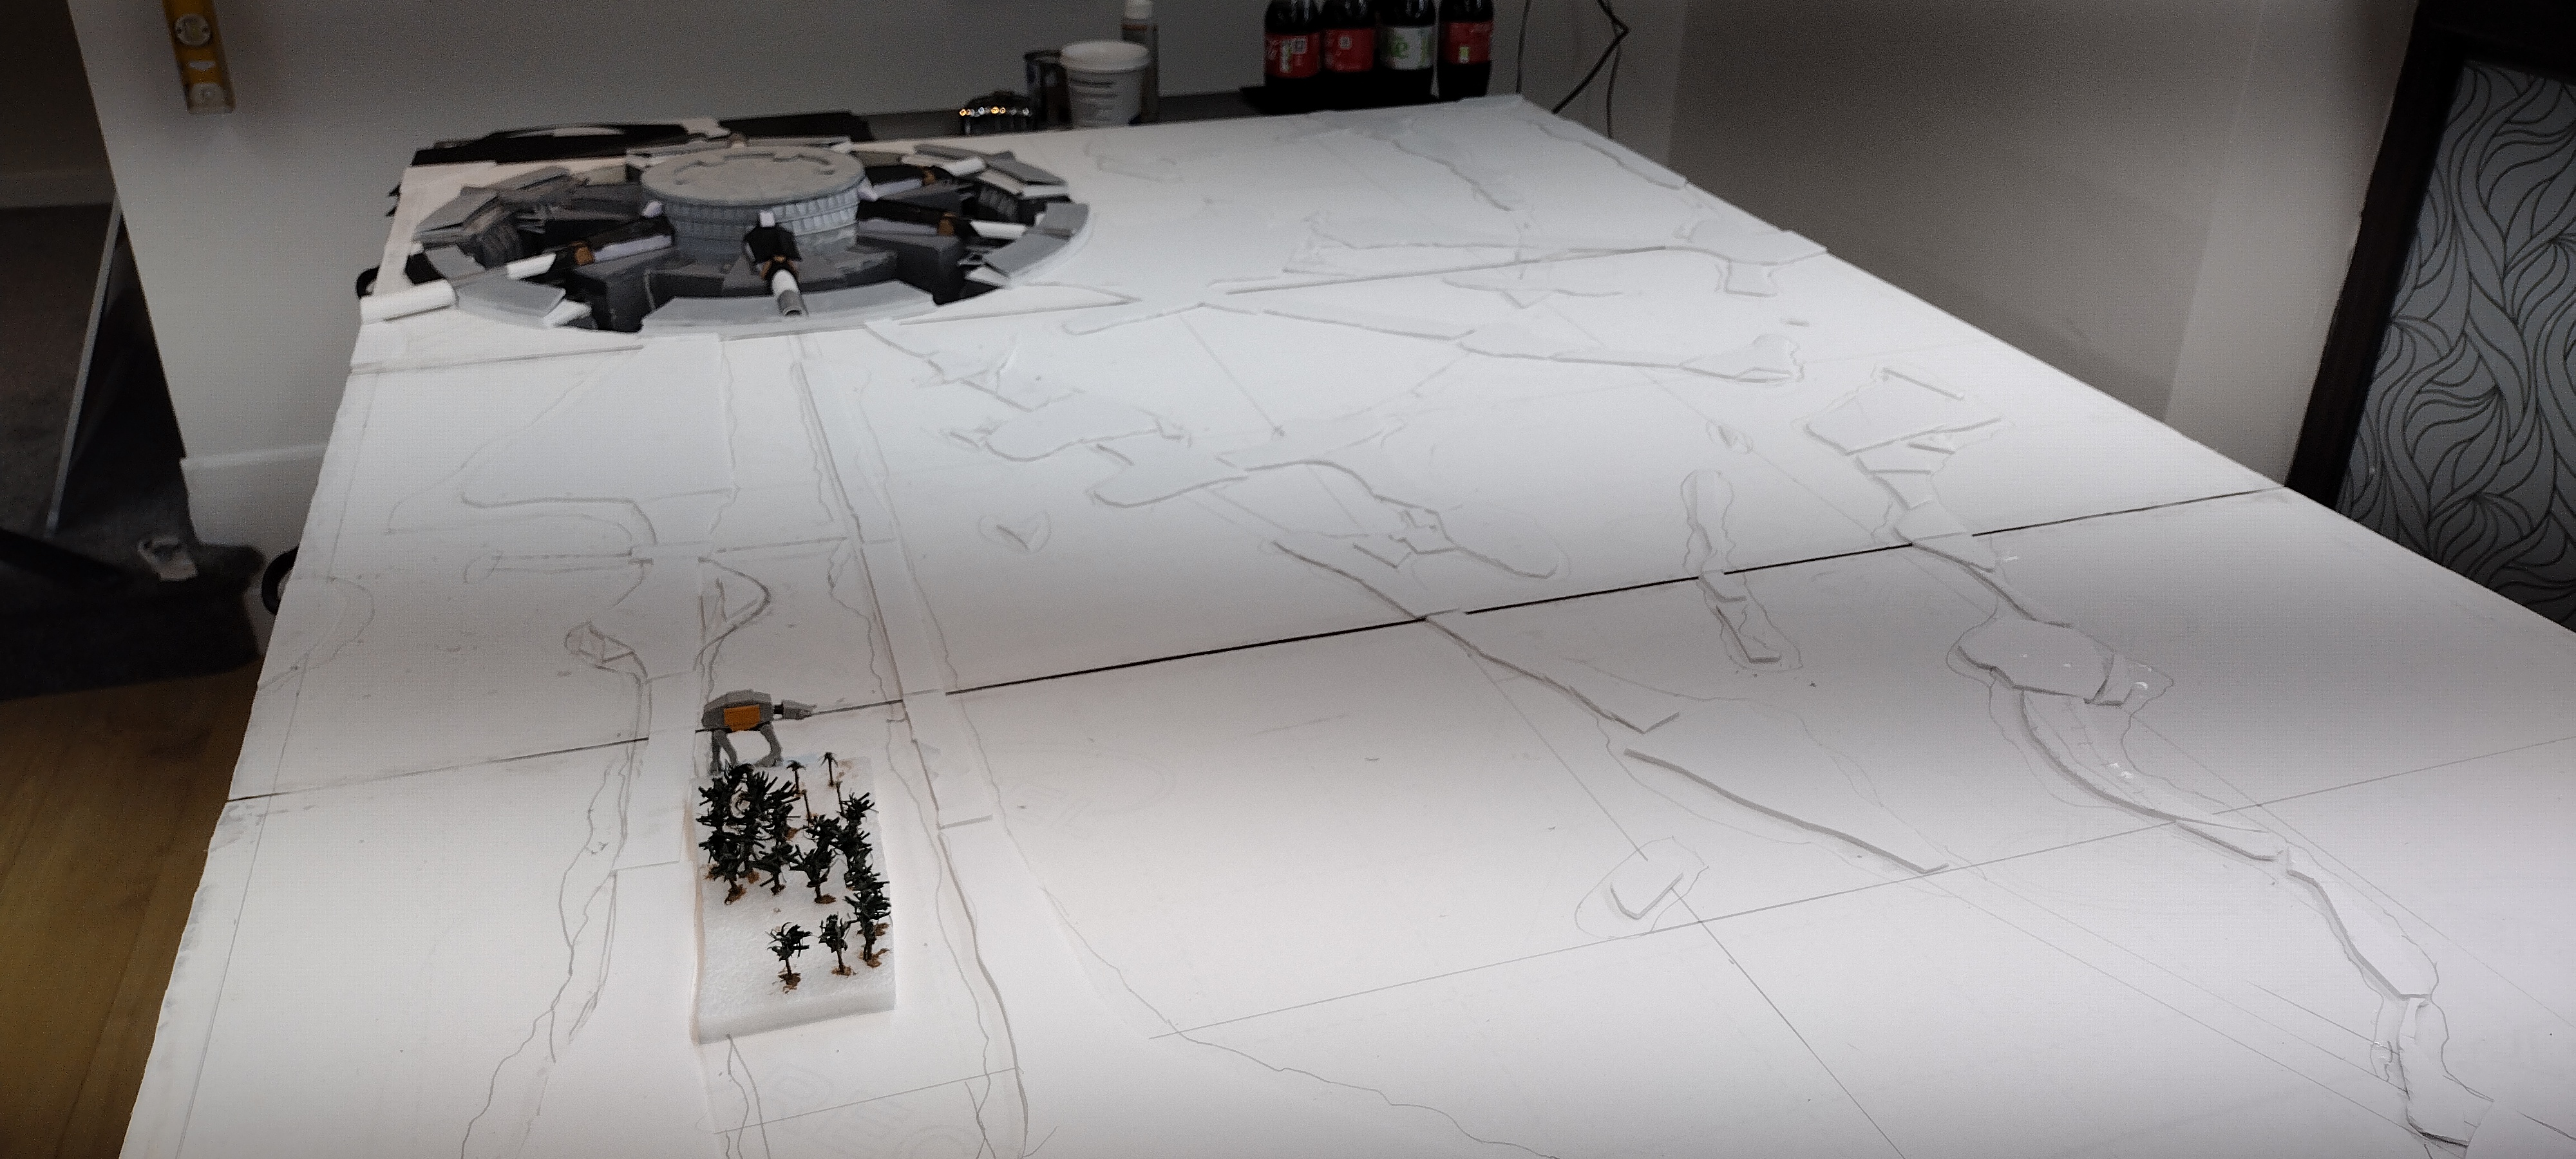
Each year I try to make one big build. My big build for 2024 is going to be Omaha Beach to refight the landings on D-Day. I intend to recreate the whole of the main beach from Fox Green through to Charlie sector covering about 6km of beach. 

The full board will be 4900mm by 900mm. Yeah, you read that correctly it’ll be 16ft long. I’m going to make it using 8 boards each 600mm by 900mm. The key terrain challenges will be storing and transporting the boards and the enormous number of landing craft and troops required for the battle. I intend to have the board ready for the Partizan wargame show in May.

Refighting Omaha

The intention is to run a massive co-operative refight of the landings. All the players will control the various US forces and will oversee the landings on a particular sector or area of the board. Each player will move their own troops and roll for the effects of German firing. Each player will have objectives to capture and will have a number of obstacles to overcome to reach them. I intend to incorporate a number of different elements that I have seen from board games to help manage and track things but will still be using the All Hell Let Loose rules to manage the game. I think it will make for an incredible co-operative multiplayer solo wargame experience.

Omaha figures

I intend to use Adler’s 6mm miniatures for the US forces and his trench range for the German defenders. I’ll be changing the base sizes, going to a smaller base with fewer figures on it because it will look much better on the table. Vehicles will be by GHQ. Landing craft are probably going to be 3D printed. The larger ships may also be 3D printed as well. At this stage all I can say is I am going to need an awful lot of them!

3D printer

So now that I have a 3D printer I want to make the most of it. I’m taking part in a role playing game of Deadlands using Savage Worlds so I’ll be printing some stuff for that. My eldest son is running a D&D game so he’ll have a list of things he wants. Omaha will require lots of things printed and so will WW1. I’d also like to do some more creation of custom items using blender to create unique or bespoke prints.

WW1 Figures 

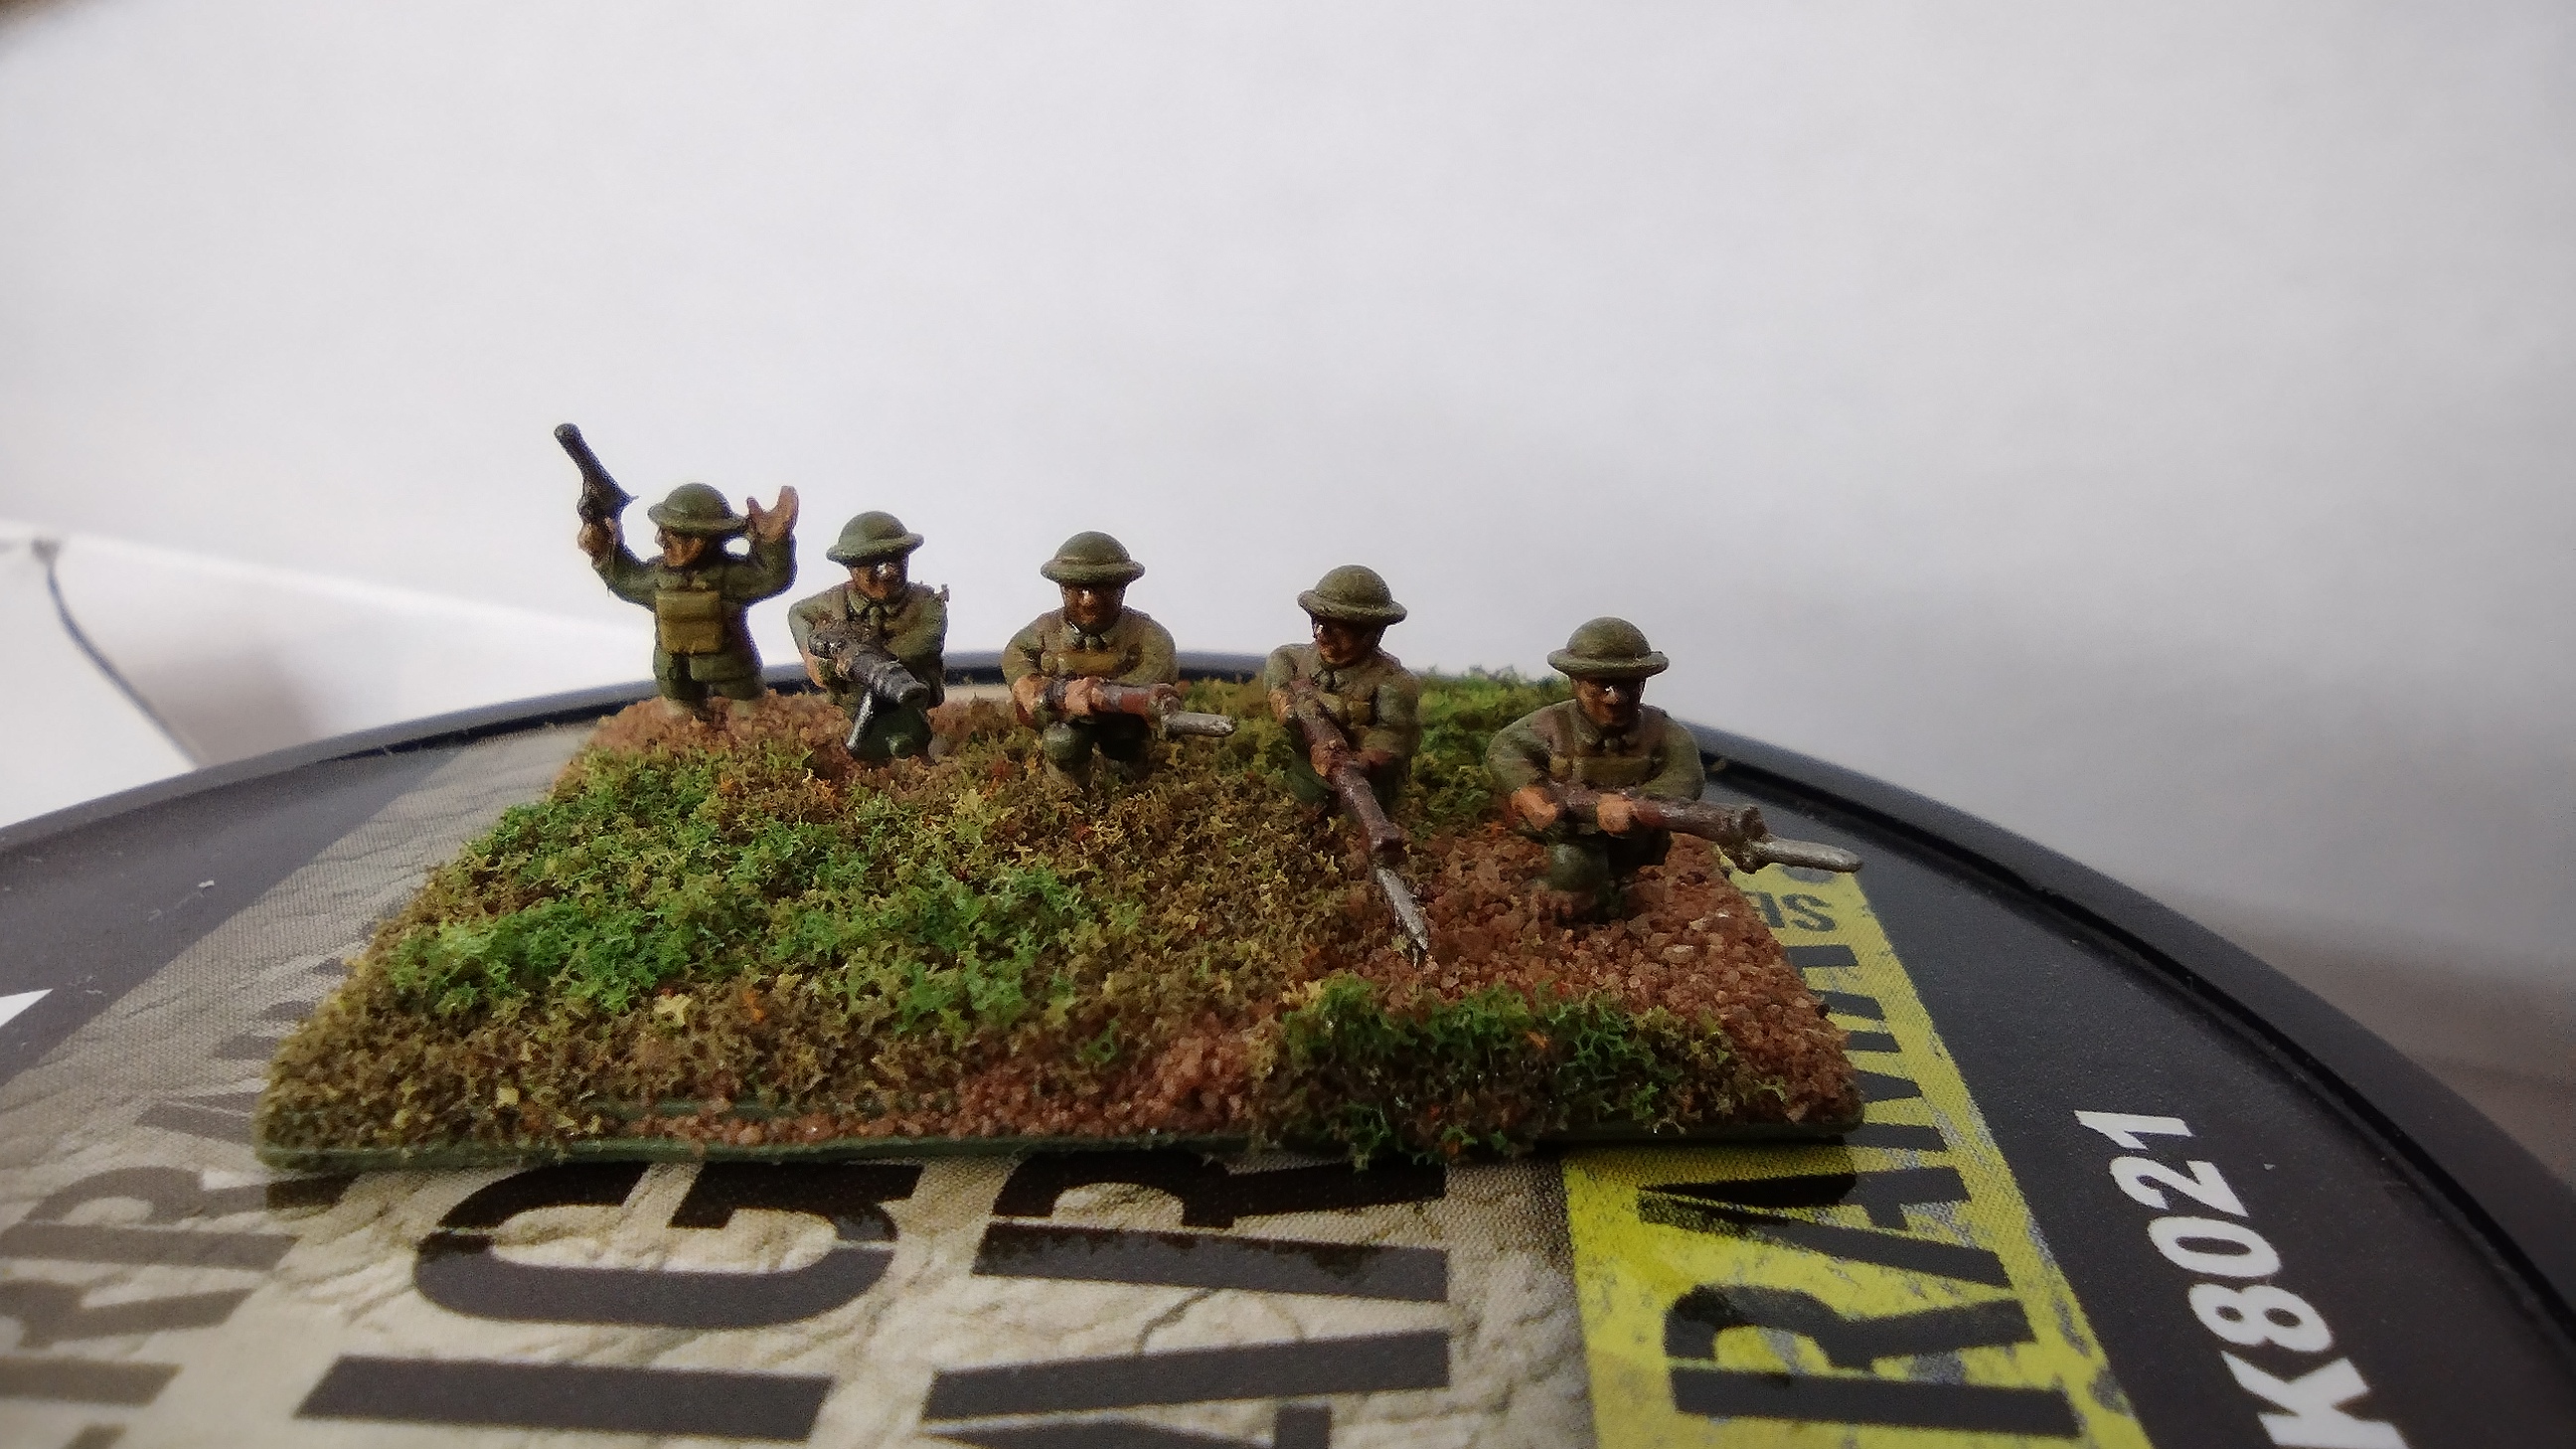
I own the files from Henry Turners Europe Asunder: The Great War ranges. I have printed a British and Commonwealth army and painted substantial amounts of it. I’d like to expand that into a complete force with artillery and cavalry. However my main goal is to print and paint the forces of another nationality to expand my options for the game.


WW1 Rules

David and I managed a small amount of progress on the rules for All Hell Let Loose: Great War. With luck this year should see the development complete and then it’s just about distilling it into something coherent.
Big Game Weekends

Last year I was able to run some big battle weekend games. I loved every minute of them and want to run more this year, hopefully being able to invite and involve more of my friends and acquaintances in the battles.

Scatter Terrain

So now I have a wargaming table I need some scatter terrain to go on it. So I will be creating streams, rivers, villages, fields, woods and more for my table.

Mystery Item 

I don’t know what this is yet, it’s still a mystery, but I am sure I’ll find something extra to do.

Well that’s about it, it feels like it’s quite a lot, so I’d better go off and start doing it.

Keep your dice rolling!

Charles the Modeller 


Friday, January 5, 2024

2023 A year in review


As is by now customary, it’s time to review my year in wargaming and the hobby in 2023, and see what I managed to achieve and which hopes were cruelly dashed. Again it turns out I had a really busy time hobbywise and got a tremendous amount of things done.


Last January I created an Ovelist to help visualise my hopes and aspirations. The Ovelist is named after its creator Andy Ovel from the Hobby Support Group Podcast and is just a simple pictorial way of setting targets and goals. As you can see I managed a creditable 9 of my hoped for 12 goals.


Scarif board

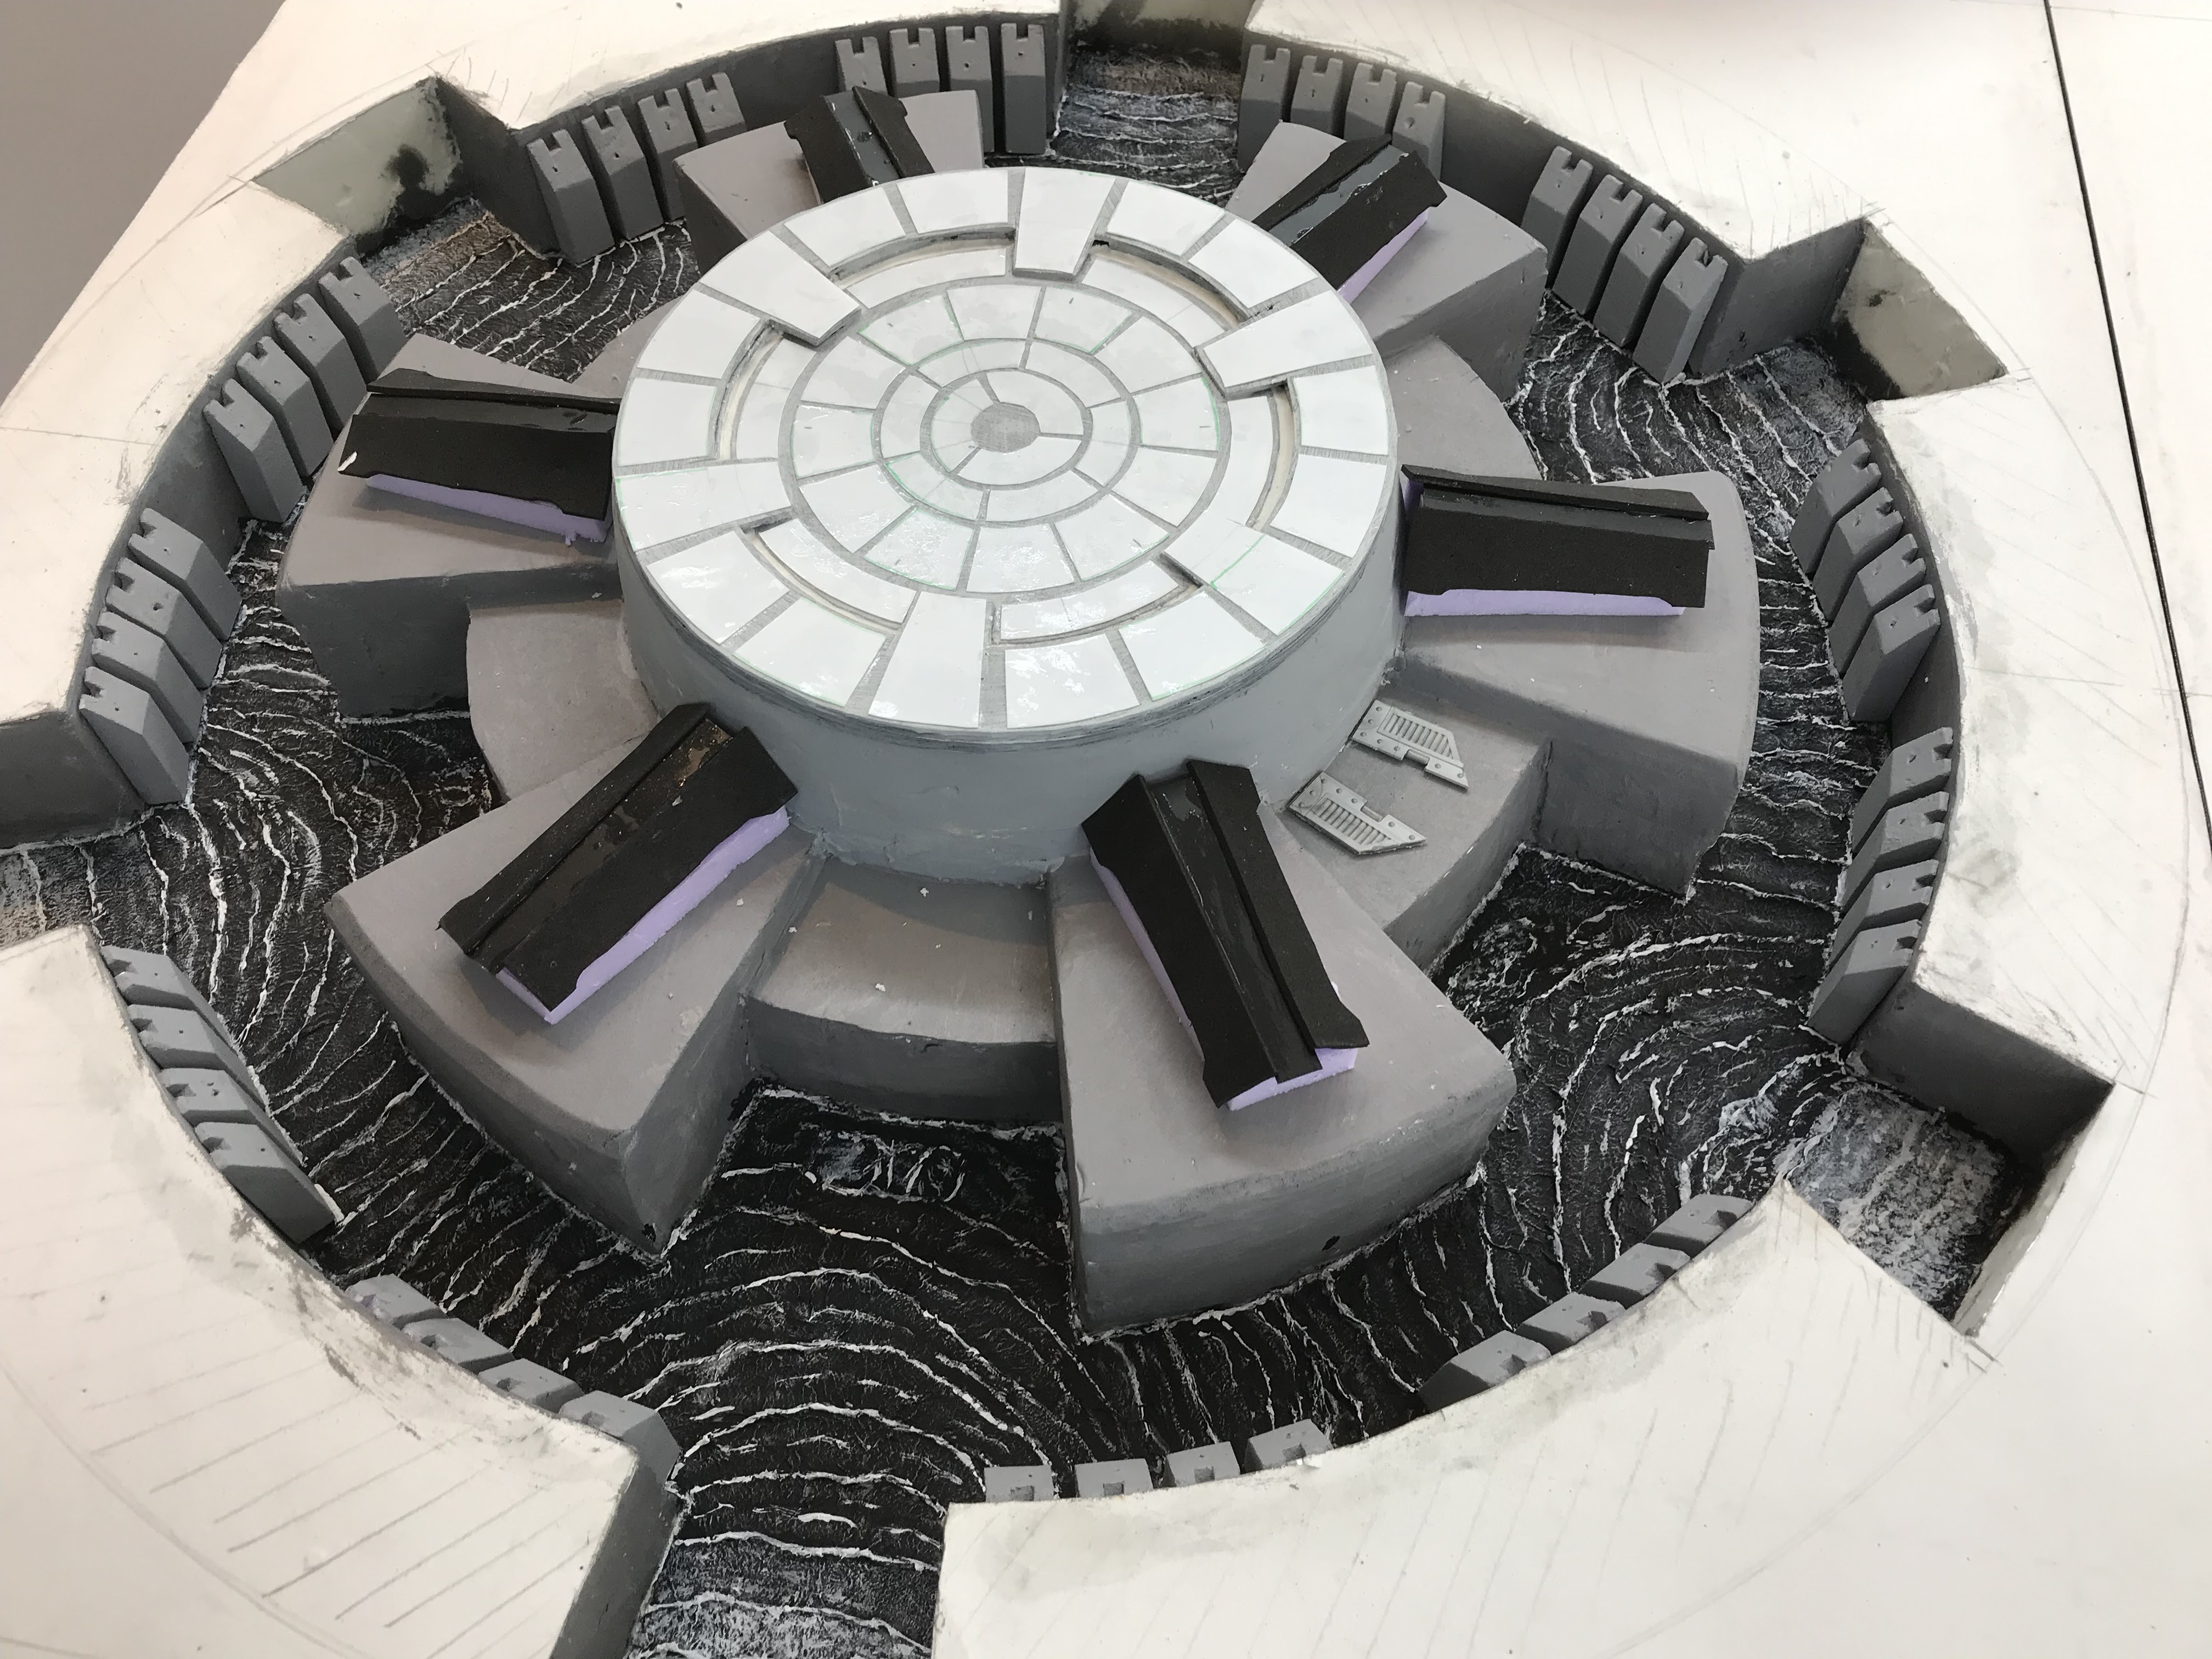
My main project for the year was the building of the Scarif board. I’m absolutely delighted with the way it has turned out. This dominated my hobby time for the first 6 months of 2023 but was ultimately very satisfying. 

  • I got to work with foam and foam board to create structures in ways I’ve not done before with the highlight being Scarif Tower.
  • I used electrical ducting to create the series of transport lines and systems that surround the tower
  • I recreated the aerial and space elements of the battle giving my board a 3rd dimension towering 6ft above the table.
  • I bought in a number of different 3D prints and re-purposed some models I’ve owned for 20+ years
  • A significant number of readers of this blog or of my facebook posts have said hello - thank you for reading and for introducing yourselves it means a great deal to me. I even had some players come to the show just to play my game after they’d had such a good time the previous year with Imjin.
  • The board won best participation game and best small model at the Other Partizan
  • It’s been to Phalanx, the Joy of Six and Fiasco and will be heading to York and Hammerhead.
  • I’m now starting to look at options for the future of the board itself 


Soldiers of Gloucestershire Museum Imjin event 

I retired my Imjin River board at the beginning of May after taking it to York, Hammerhead and Salute. My friend David joined me as we refought the battle one last time in the fantastic setting of the Soldiers of Gloucestershire museum. Over three days we recreated the battle with visitors to the museum taking the part of the Glosters or the Chinese. The Glosters were able to hold out until the morning of the 25th April until they ran out of ammunition, as they did historically. This is one of my all time wargaming highlights as we met with veterans of the regiment, some of whom had served with soldiers that had fought in the battle as well visitors whose relatives had fought at the battle. It was great to involve members of the public in the game, particularly those very unlikely to wargame. Of the visitors that got involved more than half were female and with only a small amount of encouragement they were quickly making tactical decisions and complaining about dice rolls!
My board is now on long term loan to the museum and can be seen by museum visitors and hopefully helps tell the story of the epic battle fought in 1951.


Permanent Hobby Space

This year was my first with a permanent hobby space. In the early moths of the year I was able to complete outfitting the space and stocking it with supplies and materials. I used it to build my Scarif board and then begin to create scatter terrain. I was also able to host games consistently.


Gaming 

Using my new hobby space I was able to host a small number of Big Battle Weekends.

  • The first was a huge recreation of the Battle of Prokhorovka which saw two German SS divisions crash into an entire Soviet Tank Army. We used hundreds of stands of infantry and tanks in this battle with epic quantities of aircraft and artillery. Over two days both sides fought each other to a standstill. Six friends and I had an awesome time.
  • The second game was a Battle of the Bulge refight with two smaller games determining the starting conditions for the big game itself. It was another epic two day fight.
  • I my third big game was on my small Arnhem board. It was the refight of the three days at the bridge and was very enjoyable for all concerned even if the scenario didn’t quite achieve what I wanted it to do.
  • I also managed a few games of with David and met and gamed with a new acquaintances.
  • I also host consistently 3 different D&D games, including one run be my eldest for his school friends.


3D printing 

I managed to persuade the Mrs to let me get a 3D printer and so in August I took delivery of a Mars 3 and in no time I was printing out a whole host of Turner Miniatures WW1 figures. I’m really impressed with the quality and level of detail that can be achieved as well as the versatility. I’ve created bespoke combinations of troops on bases, designed and printed my own counters and markers and begun to use Blender files to create unique figures.
WW1

This was both a success and a setback. I have been able to paint a sizeable force of British soldiers and so am really well placed to be able to game WW1. However, work on the rules, has slowed even more than it did last year as David and I struggled with so many other commitments that something had to give and unfortunately we just haven’t been able to schedule any battle time for WW1. We did make some progress and I think we are getting very close to finalising the basic rules but we just need gaming time to get us over the line.


 Passing Regrets

  • The kids still show no interest in wargaming. And whilst one has really taken to D&D and mini painting the other has given up on it. Ho hum.
  • I didn’t blog as frequently as I could have done, indeed I finished my Scarif model 6 months ago and haven’t finished writing it up on here yet.
  •  I didn’t produce any YouTube content at all. Pretty much going to have to accept it’s not for me.


The wonderful Henry Hyde giving me a trophy at The Other Partizan for my Scarif game.


All things considered I think 2023 was a great year and with my hobby space and 3D printer all bedded in I think 2024 will be even better.


Keep your dice rolling!


Charles the Modeller


Friday, December 1, 2023

Battle of Scarif - adding the transit systems


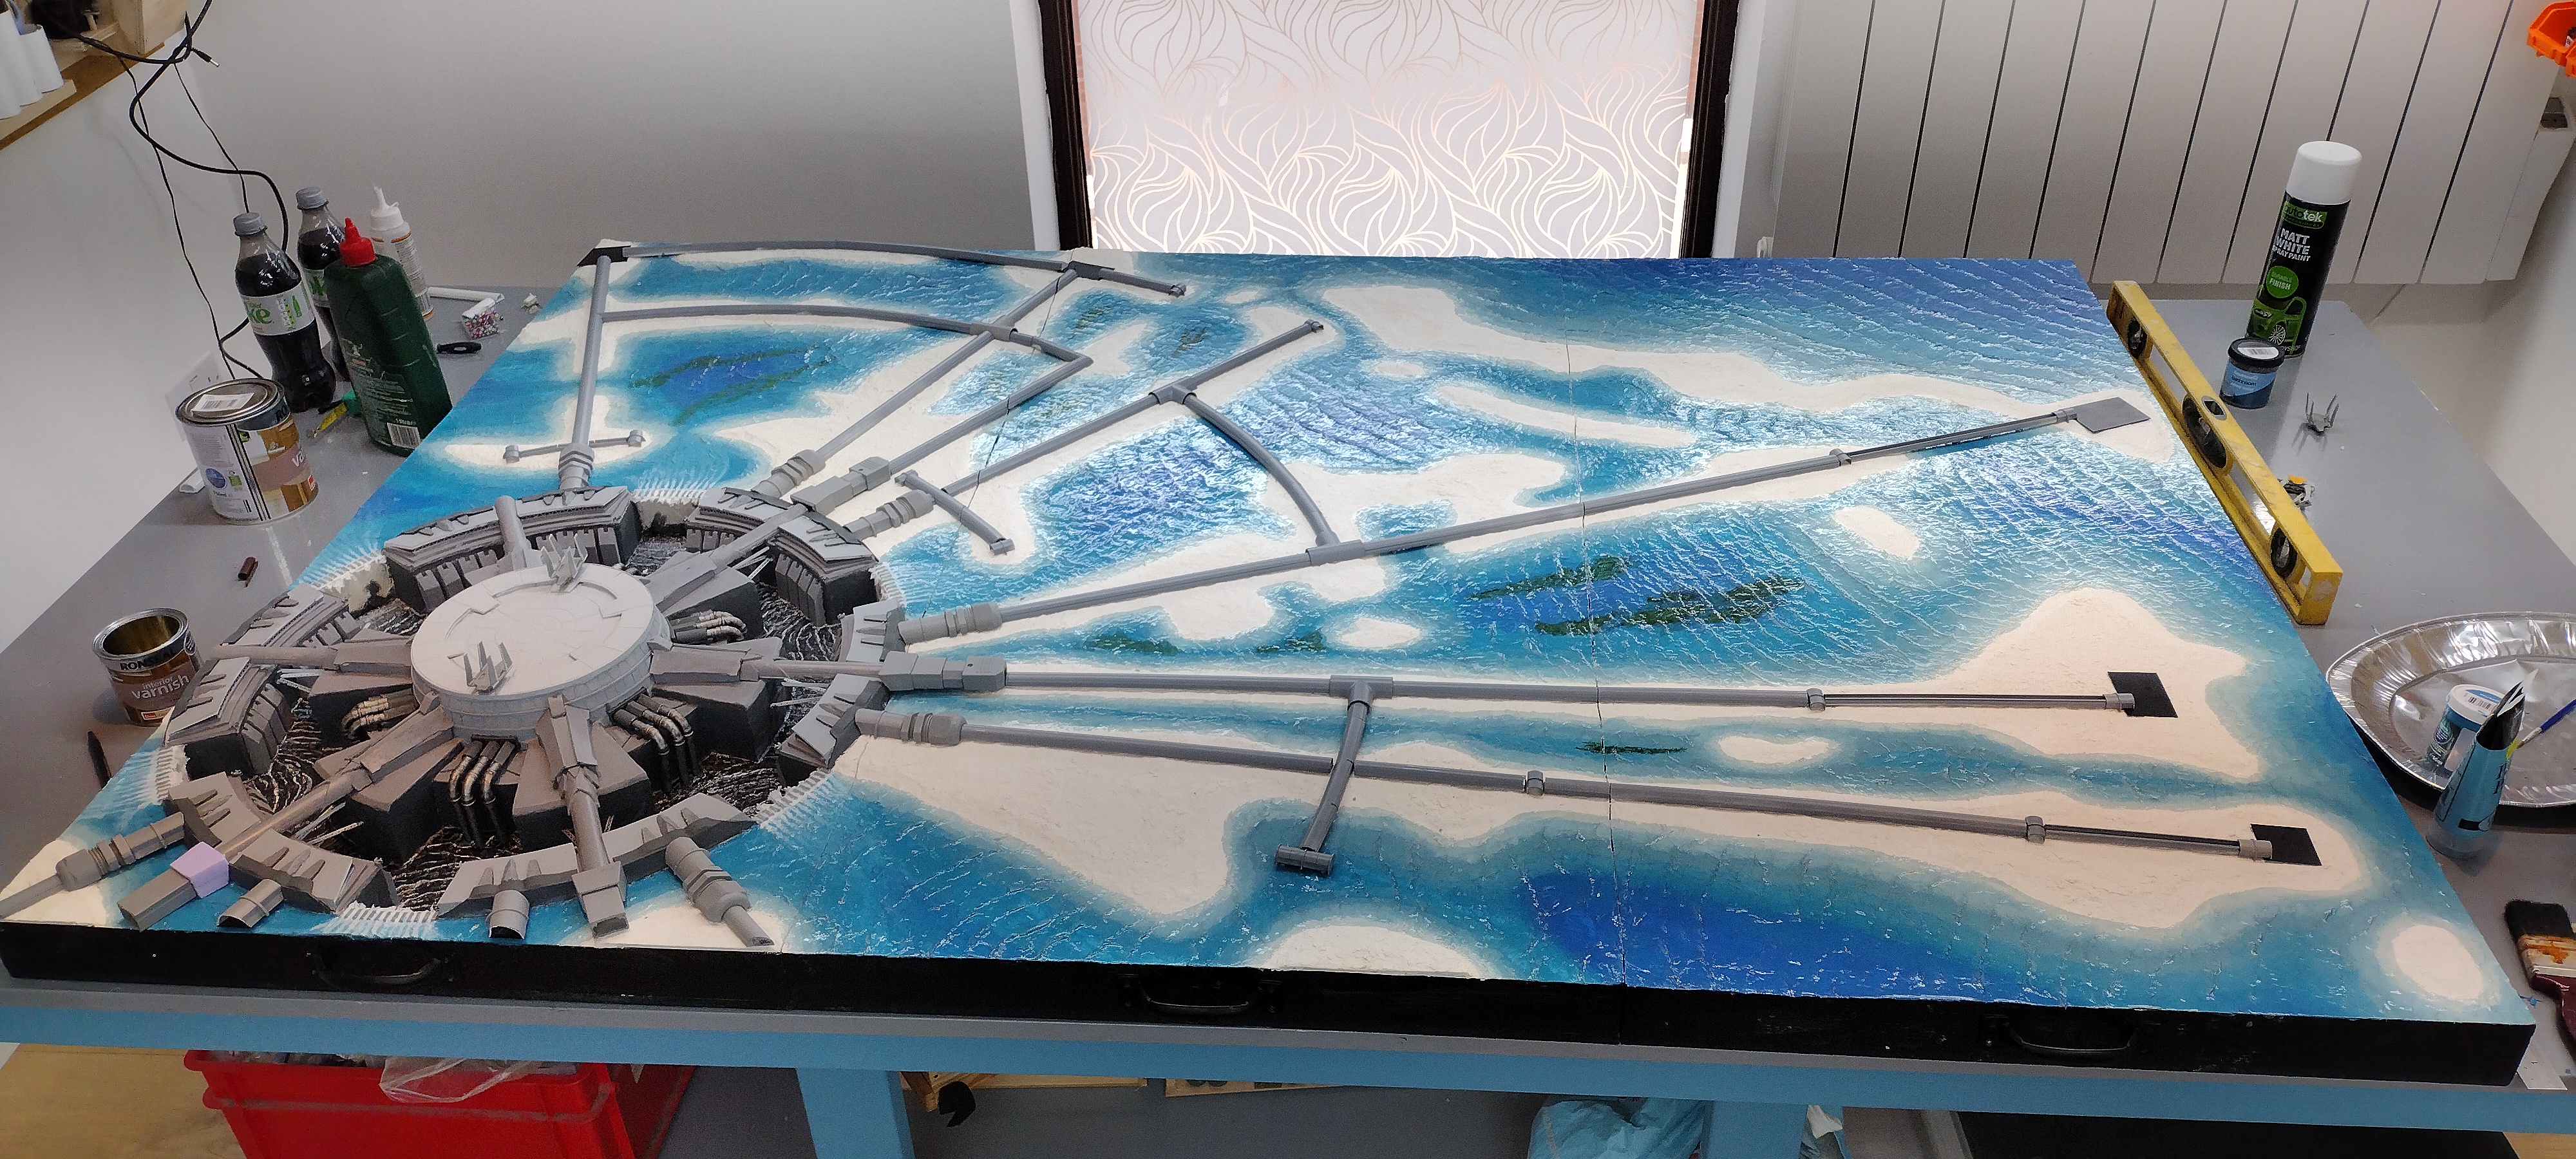
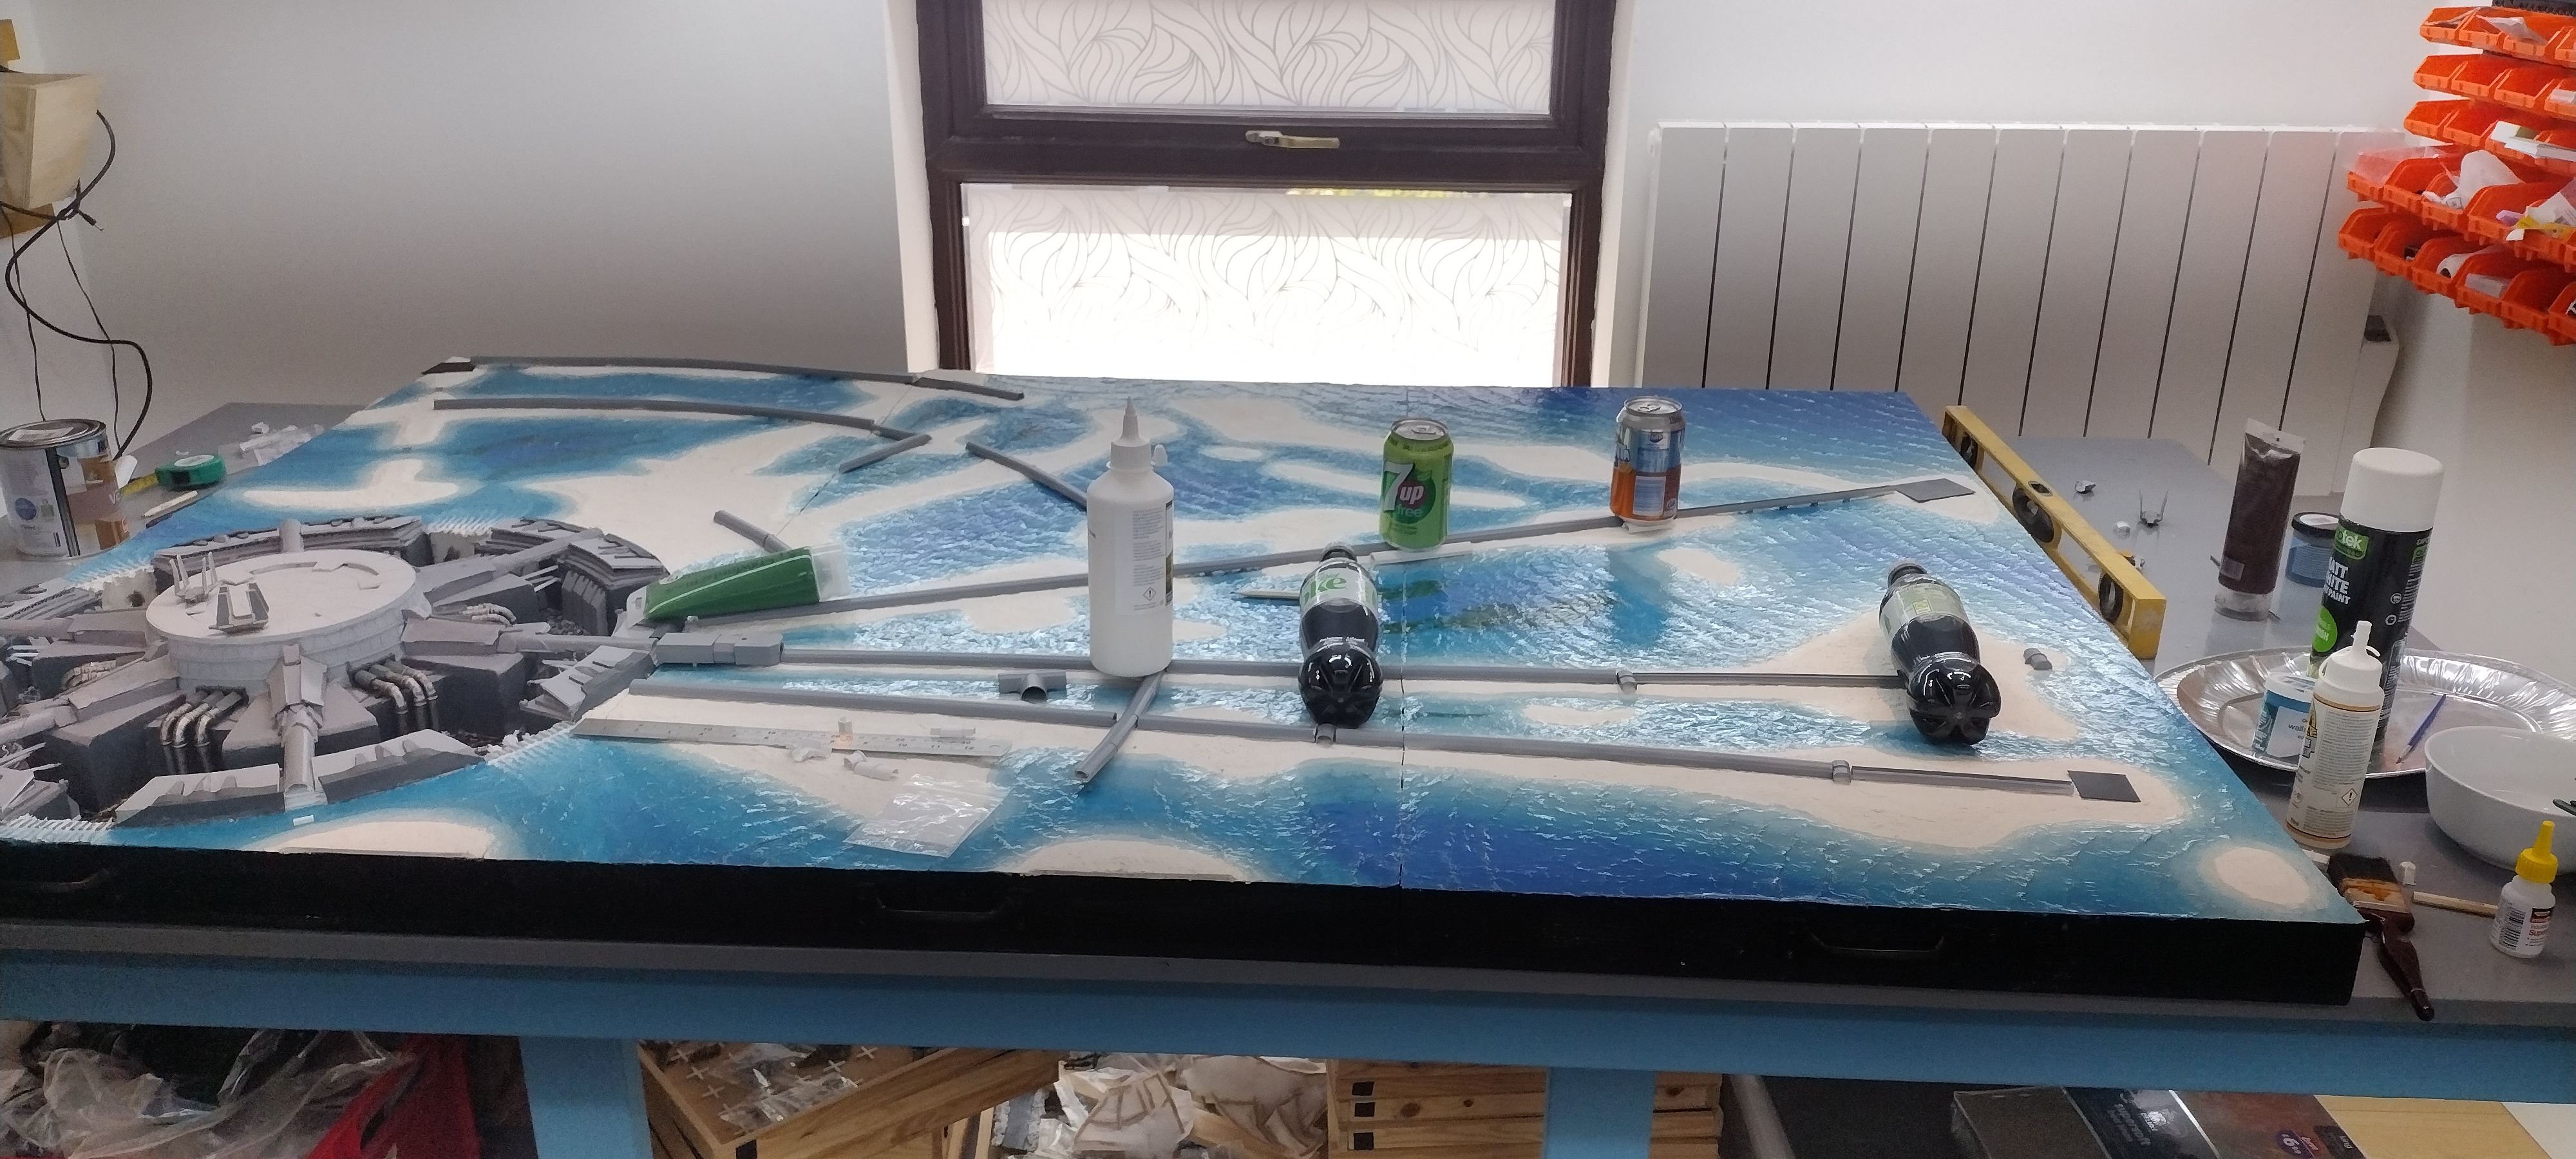
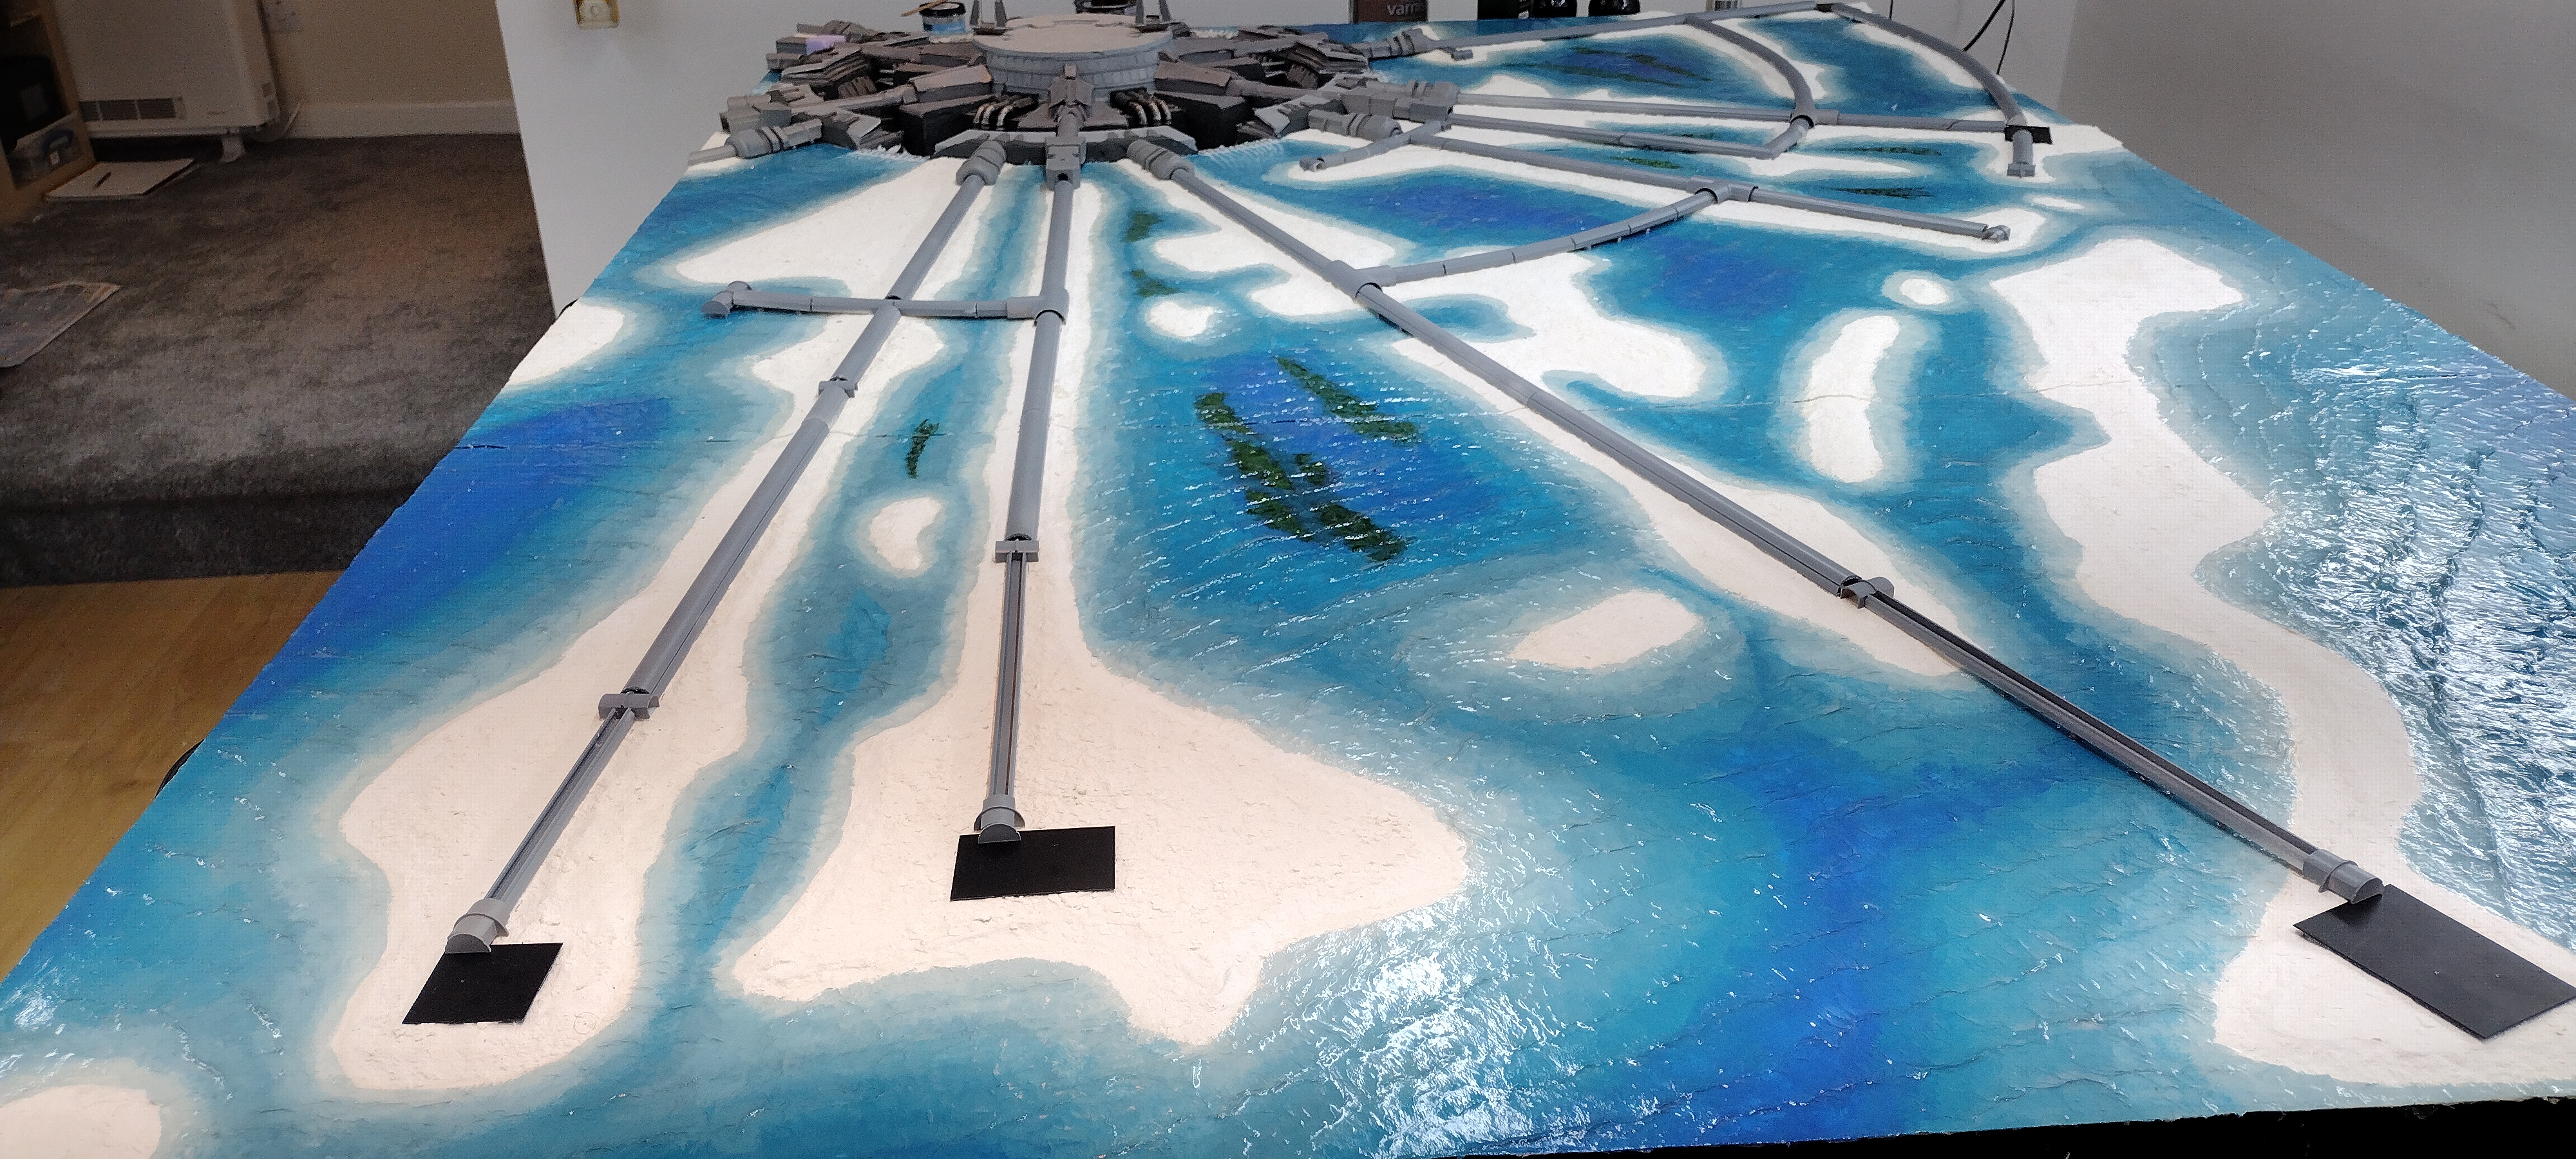
One of the key features of Scarif are the various transit lines that radiate out from the citadel tower. They draw the eye to the main tower, connect the various islands and tie it all together. So having created the islands and the seas I could now add the transit systems to the board.

The map really helped because it gave me a sense of the different elements - spur connectors, covered lines, open lines and a number of different junction and terminal structures. Then it was a case of looking through all the reference photos to get an approach for each piece. The next step was to determine the positioning of the lines and then the concentric rings. I had to adjust the location of the outer ring slightly to keep a section of it entirely on the board. I marked these all out with pencil on the board.

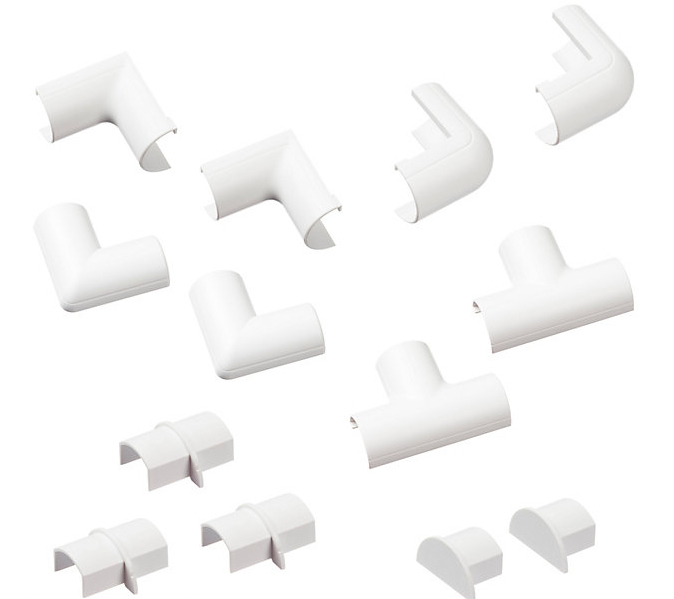
The transit lines I created using electrical mini trunking from my local DIY store. I experimented with various sizes but essentially went for the smallest ones because the islands are not very wide and I needed the space for figures to be able to fit on them. The first sections of line, as seen in the movie, are open at the top and seem to feature maglev pods. 

For this I used the square trunking, 10mm wide and 8mm tall. It has one side that clips on, so I just removed it. The idea was to trim this piece and then insert it at the bottom of the trunking and use the ridges as the rails. The remainder of the lines I used D-line D shape trunking 16mm wide and 8mm high.

I added landing pads using small rectangles of plasticard cut to a rough size based off the map and placed on the board and edges tided up. The transit line pieces were all cut to a rough length and laid out on the board. In order to be able to use the trunking for the interconnecting rings I used a hacksaw and cut halfway through the trunking at regular intervals. I then bent the trunking evenly along its length until it conformed to the curve I needed. Using polyfiller and liquid green stuff I filled in the cuts and then sanded them smooth. Once painted they appeared smooth and like new.

Where the lines crossed over the sea I cut some styrene 3.2mm square rod and used these as support struts. I couldn’t see anything like a support in any of the photos from the movie but I needed them to help secure the trunking on to the board, particularly for the concentric rings.


The terminals were made from slightly oversized D-line junction end pieces. These were trimmed slightly and to make the overhang another doors I simply snipped a 1mm wide piece off the end of the half round trunking and glued it on.


A number of other junctions were made using oversize trunking junctions, either 90 degree angle junctions or T junctions.

Movie stills also indicated that there were a number of triangular buildings seemingly situated at key points along the transit lines. These were created by placing a straight trunking joiner at right angle to the line and then cutting a triangular block from the pink foam. Using a modelling file I then filed a depression centred on the peak of the triangle until I had created a 3mm indent. I then created a topper in the shape of a cross from the 3mm styrene rod. Several other larger structures were visible in the stills and so these were simply approximated out of the pink foam.

The transit lines ending at the base of the tower had more intricate and larger sections. The lines tended to be in groups of 3, terminating adjacent to each other. However those joining separately seemed to mirror the line opposite it. There seemed to be two types of junction, a slightly larger more intricate one on both outsides of the three and a simpler one in the middle. The middle piece used an electrical junction box used when you cut through the power cable of an appliances by accident to get it working again and a flanged electric junction piece. The outer ones used a plastic cable gland waterproof compression connector with hexagonal nuts cut into halves lengthways and more oversize trunking connectors with a triangular piece of pink foam glued on top.

Once all the pieces were in place and glued firmly to the board I simply painted them a middle grey using the same painter test pots I’d used on the base. All very straightforward once I had figured out how I was going to approach it. Other little flourishes were added in a small number of places, such as the barracks and at cargo terminals using the same connectors slightly differently. As soon as this was done the shape of the board became significantly clearer and the size of these pieces determined the size of the trees and bushes I would use to complete the layout of the terrain.

Next time I will talk about how I laid out the grass, bushes and the various solutions I looked at for trees. Until then keep the dice rolling!


Charles the Modeller 

Thursday, July 20, 2023

Battle of Scarif - creating the islands and water


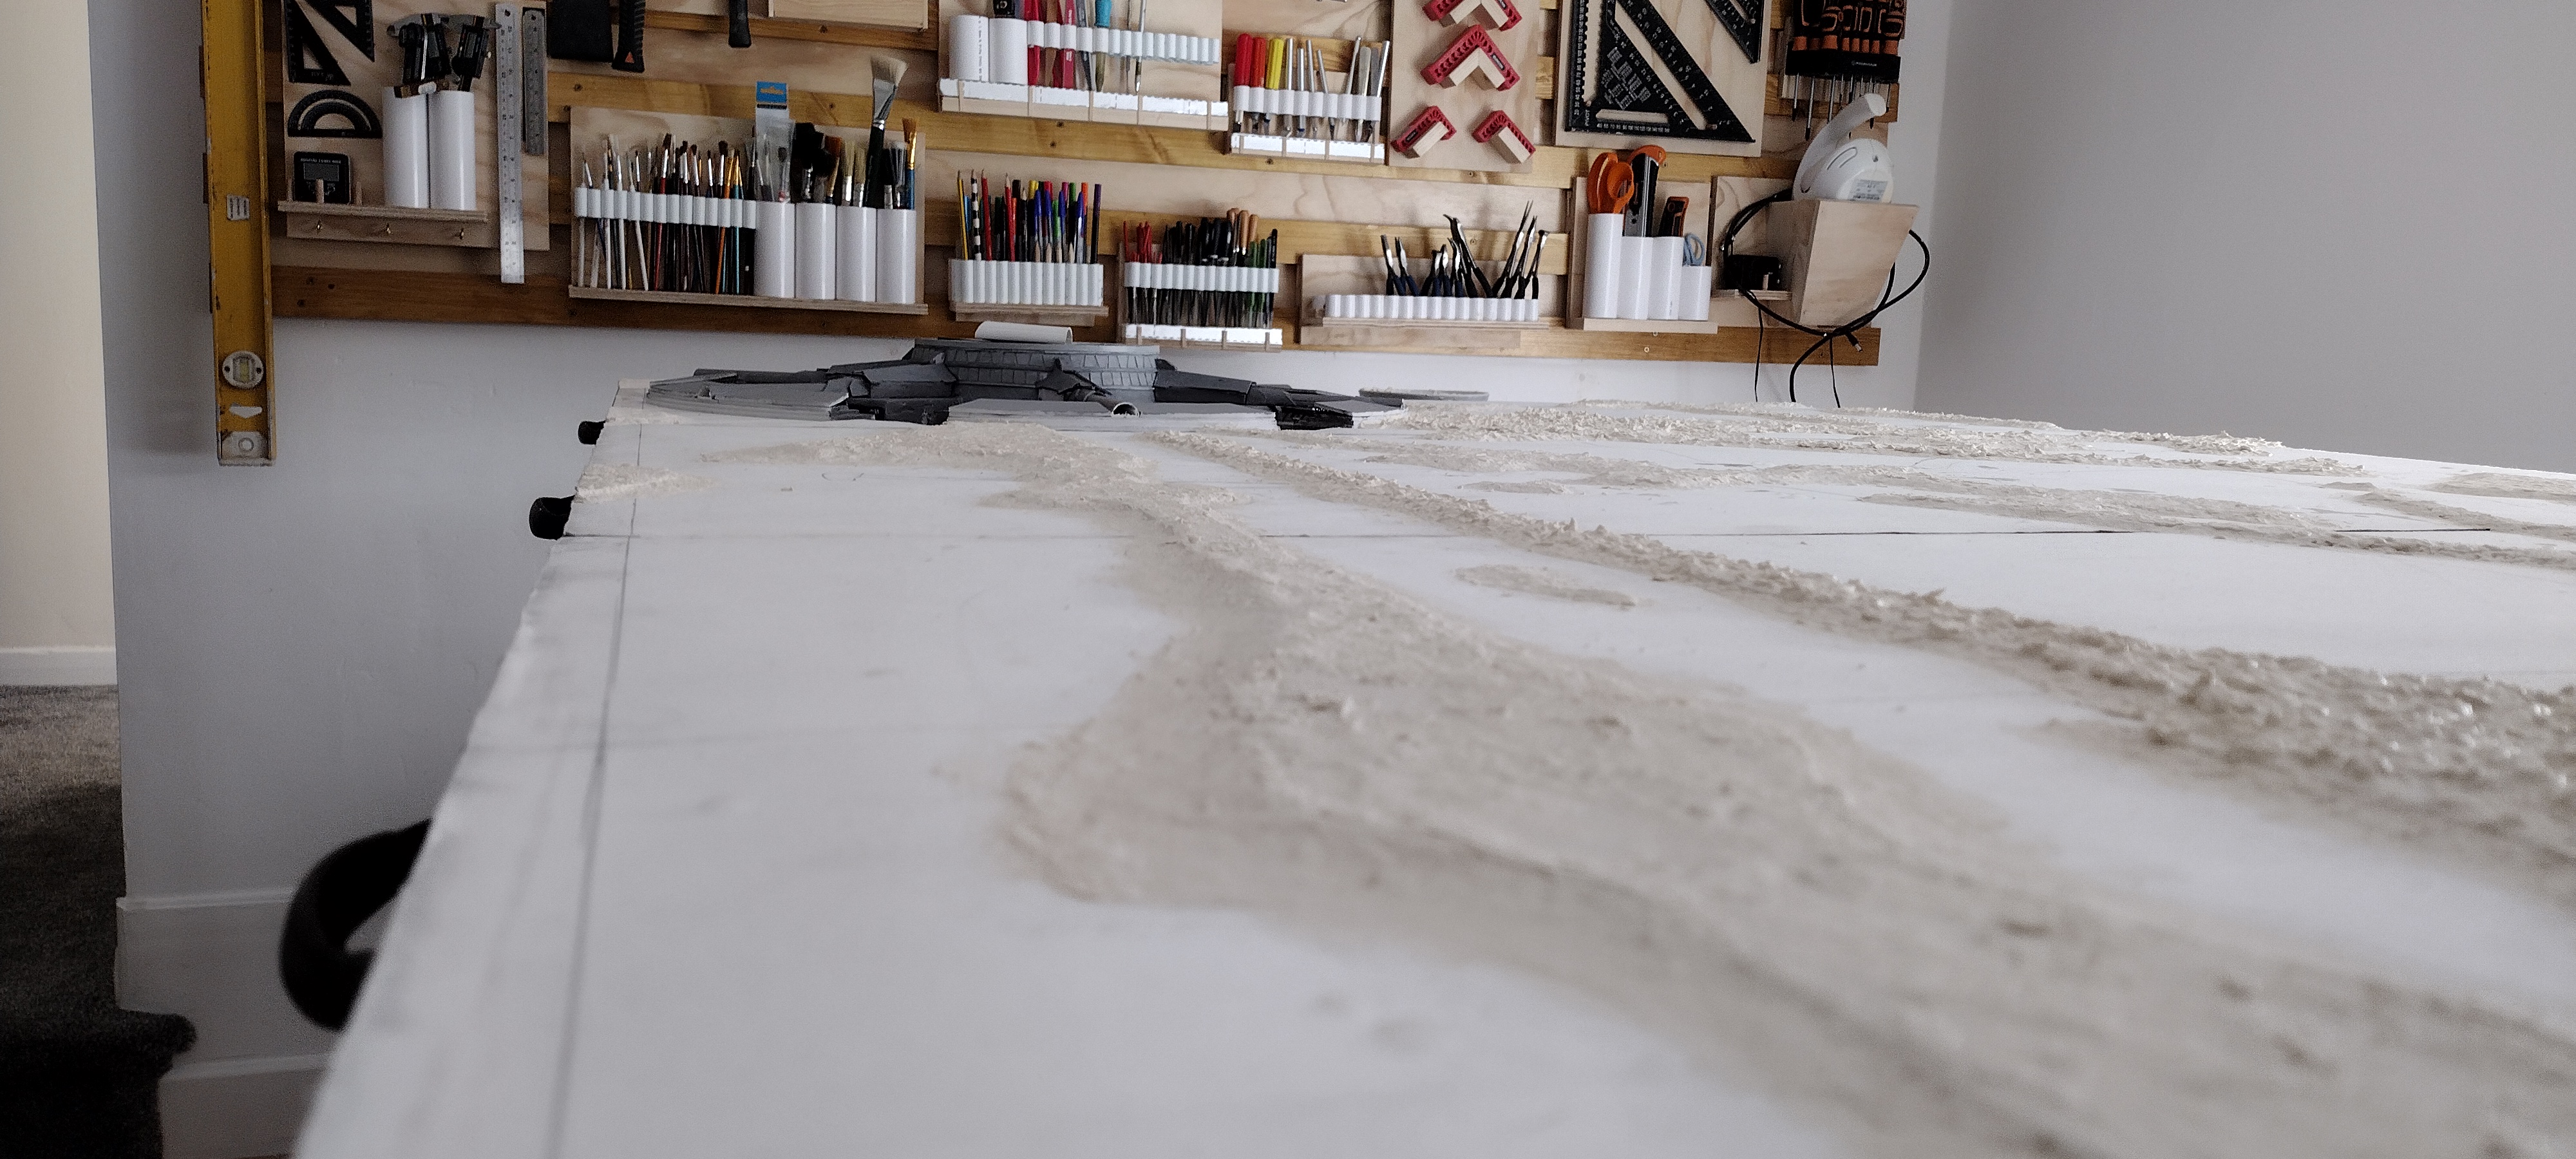
Once I’d created the base of the citadel tower I could then begin to create the rest of the terrain for the board. This was essentially the islands that surround the tower and the seas that flowed between them. Once done this would allow me to see the outline of the final board and I could then begin planning the creation and placement of the transit system infrastructure. As usual I started with the map.

This build gave me an enormous amount of flexibility at this stage. It’s a made up map of a made up world and so accuracy was not a big concern and the islands are small and low so no need for complex contouring

I had reduced the tower base so that it fitted neatly into a 60cm by 60cm section of a board. I decided to slightly increase the length of some of the island chains so that they took up almost all of the length of the board. As these islands would be where most of the action took place having more area made sense. I marked my boards with 30cm squares and then marked out the edges of each island onto it.

I used 3mm deep foam boards to create the islands roughly cutting it to size. I intended to use sculptamold to cover it and to create the gently sloping beaches so each piece was cut well inside the lines marked on the board.


Adding sculptamold was pretty straightforward. The movie filmed this section in the Maldives so I looked at plenty of images of fabulous beaches before settling on Leyland Trade Magnolia paint to add into the mix because it looked right and I had a huge tub of it from an earlier decoration of my house. I added the paint to the mix before application to ensure if the surface got scratched and the interior was exposed that the colour would match. All the islands are flat so I just had to create the slopes of the beach and then wait for it to dry.

With the islands created I could now create the seas and water. The sea covers about 50% of the board and goes all the way along all the outside edges. I decided really early in the planning that a resin pour was not appropriate for this build. Scouring the internet I came across a YouTube video by Marklin of Sweden a railway modeller. He outlined a process using toilet paper and diluted PVA/ wood glue. 

I tried it first for the water reservoir at the base of the tower as this allowed me to experiment where any mistakes would not be terribly visible. The process is very straightforward, simple to do, cost efficient and delivers realistic results.

Several layers of toilet tissue are placed down, a layer at a time and thoroughly covered with watered down glue. Once all the toilet paper is down and wet an old large painting brush is used to ruche it up to create waves and to remove any pattern. With the reservoir I had to account for waterfalls and cooling inflow pipes as well as the unusual shape of the reservoir. I found it was very easy to work the tissue and create waves. Any issues could be easily rectified with more toilet paper and it remained workable for hours.

Once dry I painted the reservoir black and then dry brushed white with wave tops highlighted in white.

The sea was both simpler and more complicated. Creating the waves was fairly straightforward all I really had to do was decide on the basic wind/ tide direction and then adjust slightly for the various islands. The sea shown in the movie is fairly flat and tame so I didn’t have to show much in the way of wave tops. So again toilet paper and glue was used with the same ruching process. Straightforward but time consuming. I papered over the joints in my 3 boards as I figured it would be easy to cut and would minimise visible joins when the board was completed.


I then began to create the races towards the tower weirs and waterfalls. I cut styrene strips to create the weir crenellations. I then used the toilet paper water system to simulate the water rushing towards the falls. This was fairly simple to do and the tissue easily malleable even when being pressed between the weir tops.

The complication came from creating the colouring of the sea and the blending in of the various colours. A visit to my local DIY store resulted in 4 paint taster pots with various shades of blue.

I worked in small sections about 30cm square and began by painting the sections by the beach. This was just a 1-2 cms wide strip. I then painted another strip right alongside it and then quickly painted the next colour alongside that and blended the second and third strips. This process was repeated until all four colours had been painted on. The further away the beach was the wider and bluer the colours became. The final blue was just a bit too deep a blue for me so I mixed the previous shade with it slightly to lighten it. 


The process was then repeated until the whole sea had been painted. I then added some green paint in various shades and highlights in areas I judged were likely to have slower moving water to simulate underwater weeds and plants.

I then left it an entire week to dry before I put the first layer of varnish on it. I used an interior/ exterior gloss varnish. After the first coat dried I coated it with an undiluted wood glue that dried clear. This helps give the illusion of depth. Once that dried then I just applied more and more coats of varnish until my tin ran out. I think I put six coats of varnish on in total.

The result was a shiny blue sea of varying hues. I decided after looking at the movie and images of the Maldives that highlighting wave tops with white was not required and with that decision the sea was complete.

The addition of the six waterfalls was one of the last things I did on the board but they could easily have been added at this stage if I had wanted to. Again Marklin of Sweden was my inspiration with this really useful video.

I cut 0.25mm thick plasticard shapes that fit the vertical area behind the waterfalls. I painted the top 1cm or so with grey paint and then marked the location of the weir crenellations.

I used Liquitex acrylic medium for paint, a gloss gel that applies white but dries clear and shiny to help create the falls. I took a small amount of synthetic pillow stuffing and teased or twisted it into a thin strand. I applied a small amount of the gel to the plasticard down between a crenellation and pushed my strand into it. This lightly held the strand in place. I could then adjust the layout and spread of the fall. I made sure the fall was tighter at the top and that it spread out as it got closer to the bottom. More acrylic medium was generously added until the pillow fibres on the plasticard were covered in it. I tried to keep the fibres that hung over the bottom of the card free from the medium.

Additional strands were added in sequence until the whole of the plasticard was covered with 12 separate falls. I did not cut the strands perfectly to length at this stage but as they dried I did attempt to bend the tops and bottoms to aid placement on the model. 

Once fully dry I highlighted them with white paint to pick out each individual fall. I tried diluting soft tone inkwash and adding that but I wasn’t happy with the result. I found just having the extra whiteness of the paint was perfectly sufficient for the effect I was after.

I was able to then trim the plasticard to fit each waterfall, mostly by cutting thin strips across the top. I trimmed the overspill at the bottom but kept most of it and teased it out so that it would simulate the mist generated by a large waterfall. The card was pinned in place whilst a mix of contact glue and gorilla glue dried. I filled any small gaps and painted it white and then applied the gloss gel to seamlessly join the falls to the sea on the board.

With the sea and land created I had the main elements of the board in place, next time I will look at the creation of transit system that crisscrosses the board.


Keep your dice rolling!


Charles the Modeller 


All Hell Let Loose: Great War - Published and Available Now

After several years of research, writing, playtesting and refinement, I'm delighted to announce that All Hell Let Loose: Great War is n...