Showing posts with label Scratch Build. Show all posts

Monday, January 29, 2024

Battle of Scarif - adding all the bushes and trees


In previous posts I’ve covered the building of the boards, the seas, the islands and the transit systems for my battle of Scarif board. In this post I’ll talk about how I added the foliage required for the distinctive look of the planet.


So my starting point were images from the movie. I concentrated on the images we see when looking at the ground from either Rogue One itself or from the x-wings of blue squadron. I was building the battlefield at a small scale and so it was very clear that I would not be moving figures through foliage, instead I would be moving them over foliage. This meant that the trees would need to be robust enough for stands of troops to rest on top of them and numerous enough to not be significantly uneven.

As the trees would be the last pieces of foliage inserted I started with the grass. This was very straightforward as I began with the woodland scenics fine turf grass products, these are my standard go to product for grass. I mapped out some trails and other routes and places that I wanted to clear as there are sections of the battle that take place in the open and then just scattered a thin covering of multiple grass shades. This was secured in place with diluted PVA.

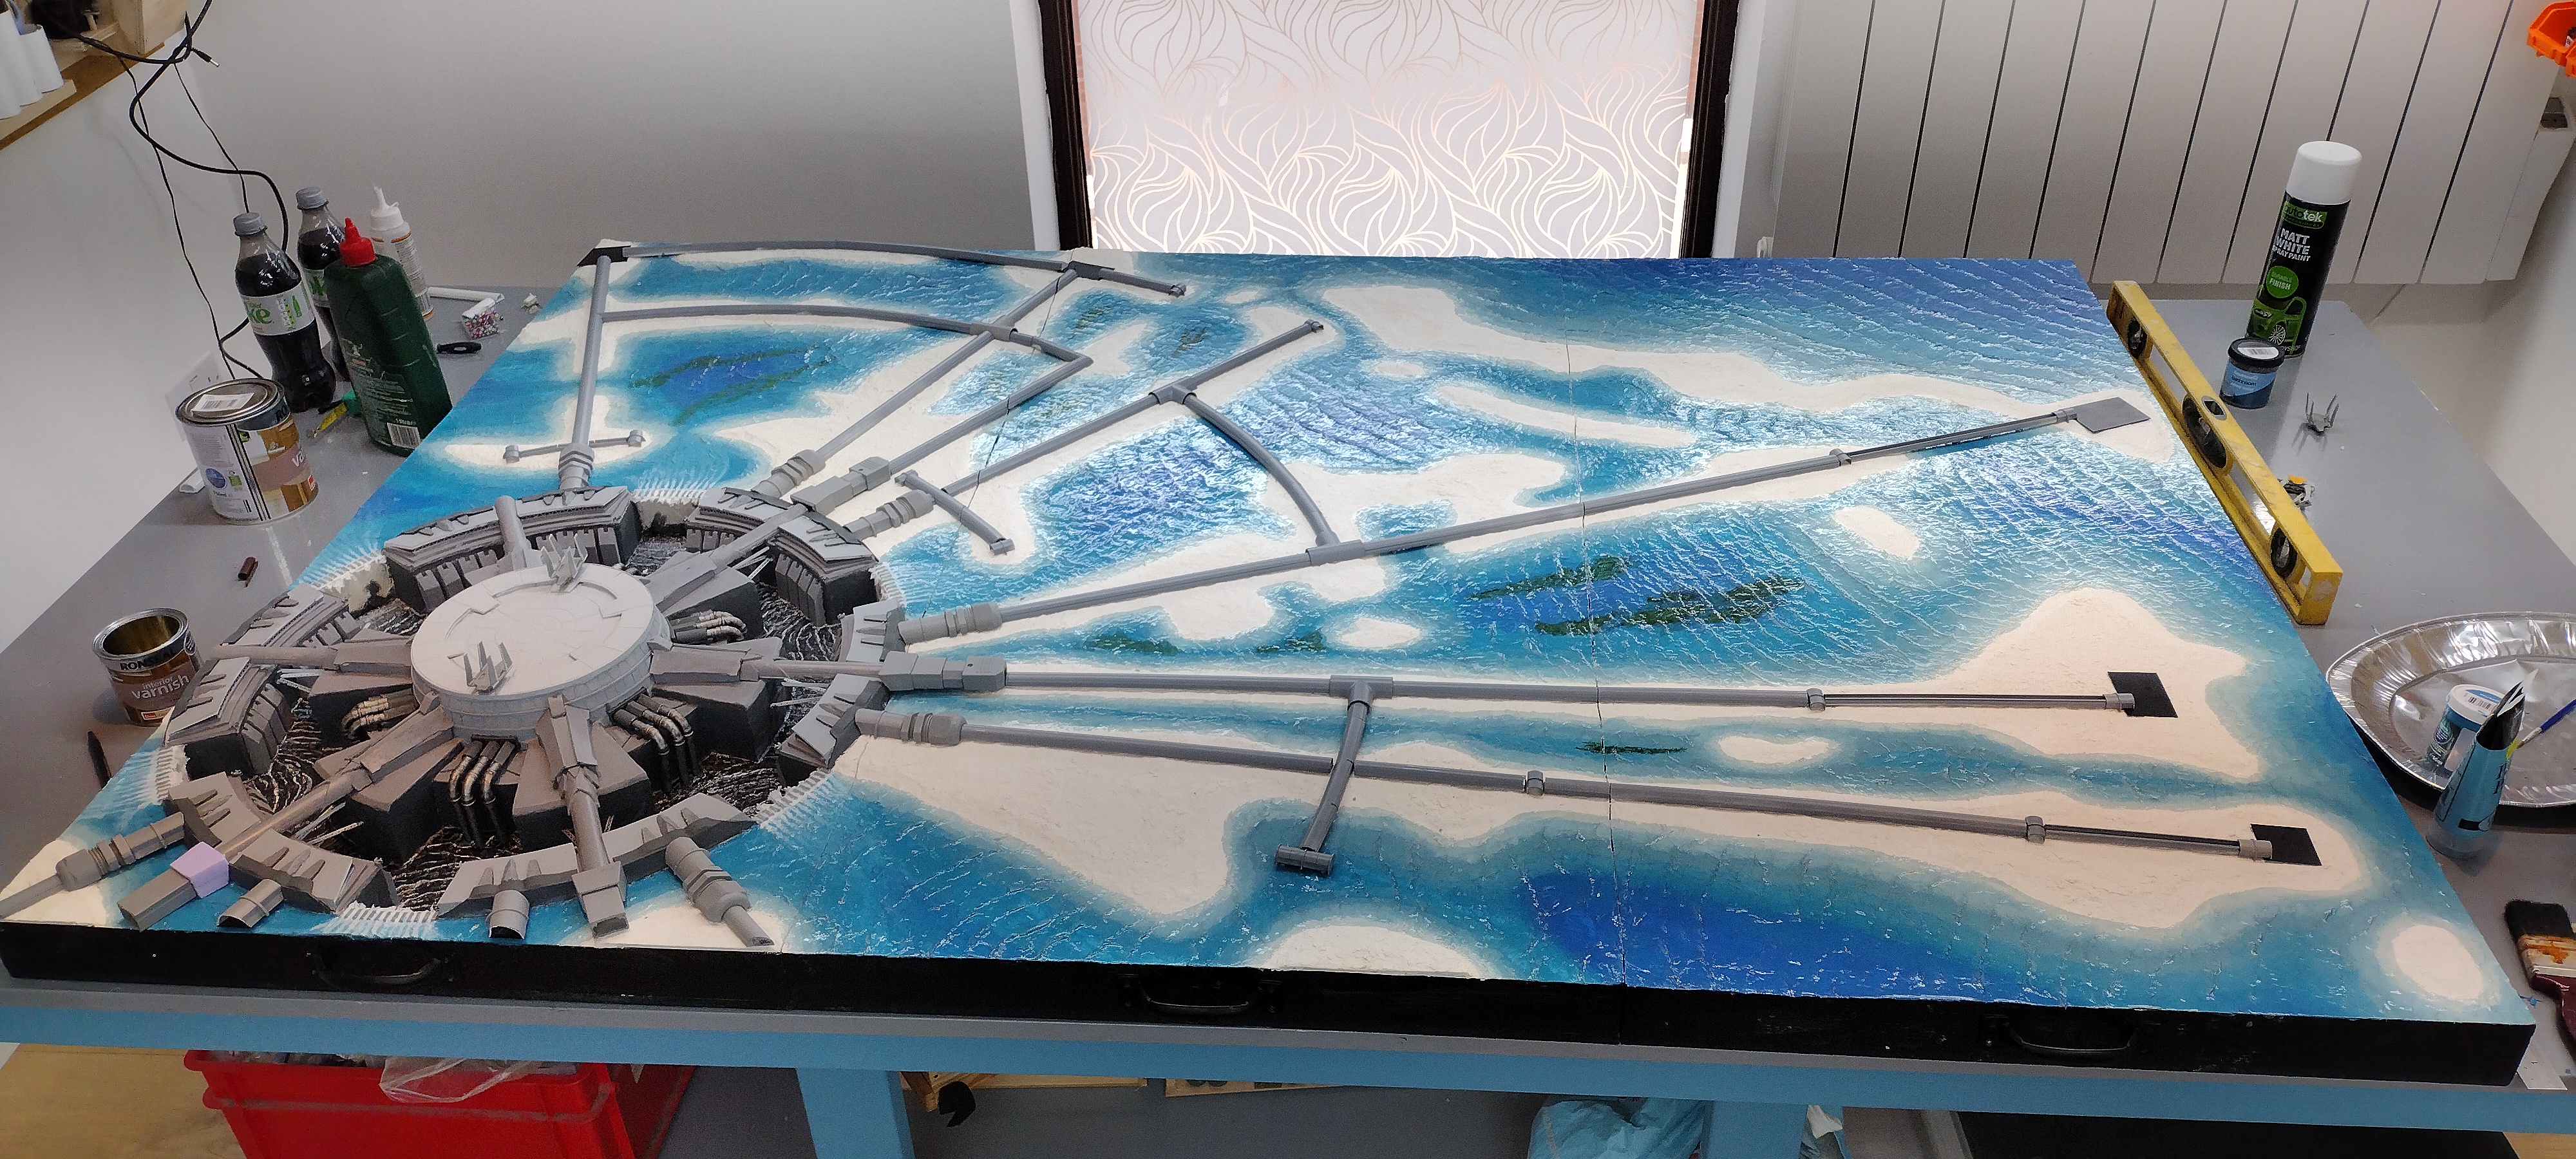
The next steps were adding the underbrush, bushes and foliage beneath the tree canopy. As its a tropical forest it needed to be densely covered. You can see from the aerial images that basically most of the land of Scarif is covered with foliage. I then went to my accumulated collection of tufts to create this. 

I have some crop strips, some held over from my BrĂ©court Manor build, these were cut lengthwise into thin strips which were then glued up against the side of the transit lines helping to hide the base and joins. I interspersed different bushes and tufts to break everything up. 


In the more open sections I randomly placed bushes and tufts, including things like bulrushes that were designed for bigger scales but look suitably sci-fi at a smaller scale. The key was to have about ten or fifteen different options and to mix them up. I didn’t need to place them tightly next to each other as the trees would provide most of the coverage, I just needed enough for it to be obvious there were bushes underneath.

The trees proved to be quite tricky, not so much in production, but in identifying a suitable way forward. I knew I needed a lot of them so I needed a solution that was scalable and easy to make. My starting point was a Facebook post I’d seen some years ago by Trev of Trev’s Workshop. He was creating palm trees for a desert game. He stuck 25mm nails into polystyrene, used texture paint on the nail make the truck and placed some PVA on the head and sprinkled static grass over them and was able to quickly and simply make several hundred trees in a couple of hours. A brilliant solution but wasn’t quite the look I needed as the trees on Scarif have much more foliage. However the use of nails as trunks seemed like the way to go as it would definitely support my figures with no problems.

Next I looked at using paper leaves but this was swiftly discarded. I used the green stuff leaves product but cut them much smaller. The end result was fairly pleasing but the prototype took me quite some time to produce. The pieces struggled to stay glued on and I could make only a few trees from each packet which came at quite a cost. I also tried buying a plastic fern and cutting pieces off it but this had the same time issues as the paper leaves.

I scoured the internet for options and came across a post on The Miniatures Page message boards from Mark, aka Mark I, suggesting using lengths of pine tree garlands most commonly used at Christmas. These are lengths of wire with strands of paper wrapped around it made to look like pine tree branches. I snipped the wire roughly every 25 or 30mm and the used scissors to shape the paper forms and teased them to make a suitably tree shaped canopy. It took me a few minutes to create each tree. However they were a uniform colour and would need painting and the appearance was OK, not bad, but not great. I left these on the back burner while I did more work on the model.

With only about a month left before my first show I still had the problem of my trees. However, necessity is the mother of invention. I returned to the method used by Trev but, instead of using static grass I used woodland scenics foliage. This stuff is their standard foam but on a nylon net. I cut very small pieces and then superglued it onto the top of a 25mm nail. This worked well. 

Then I tried mixing things up. I cut a small piece from the light green foliage and crimp it flat. I used superglue to stick on the top of the nail and pressed it flat. The superglue melted the nylon and stuck it admirably to the nail. I then cut another piece of a darker foliage, slightly bigger than the first and squashed it into a kind of pyramid shape and the glued this on top of the first. This then produced a palm tree shape I was really pleased with. At this point I should add a warning regarding the use of superglue in large amounts or repeatedly over a period of time particularly in enclosed spaces - don’t do it this way, proceed with caution, do your own research and stop if it is affecting you.

I was then able to put this into production. I made 100 trees at a time. I stuck the nails into polystyrene and painted them with texture paint. Once dry I cut ten pieces of light green foliage and glued them to the top of the nails and repeated this until all the trees had light green foliage on top. Then I cut the darker foliage, half mid green, half dark green and then glued those onto the first layer. It took about 90 minutes to make 100 trees.

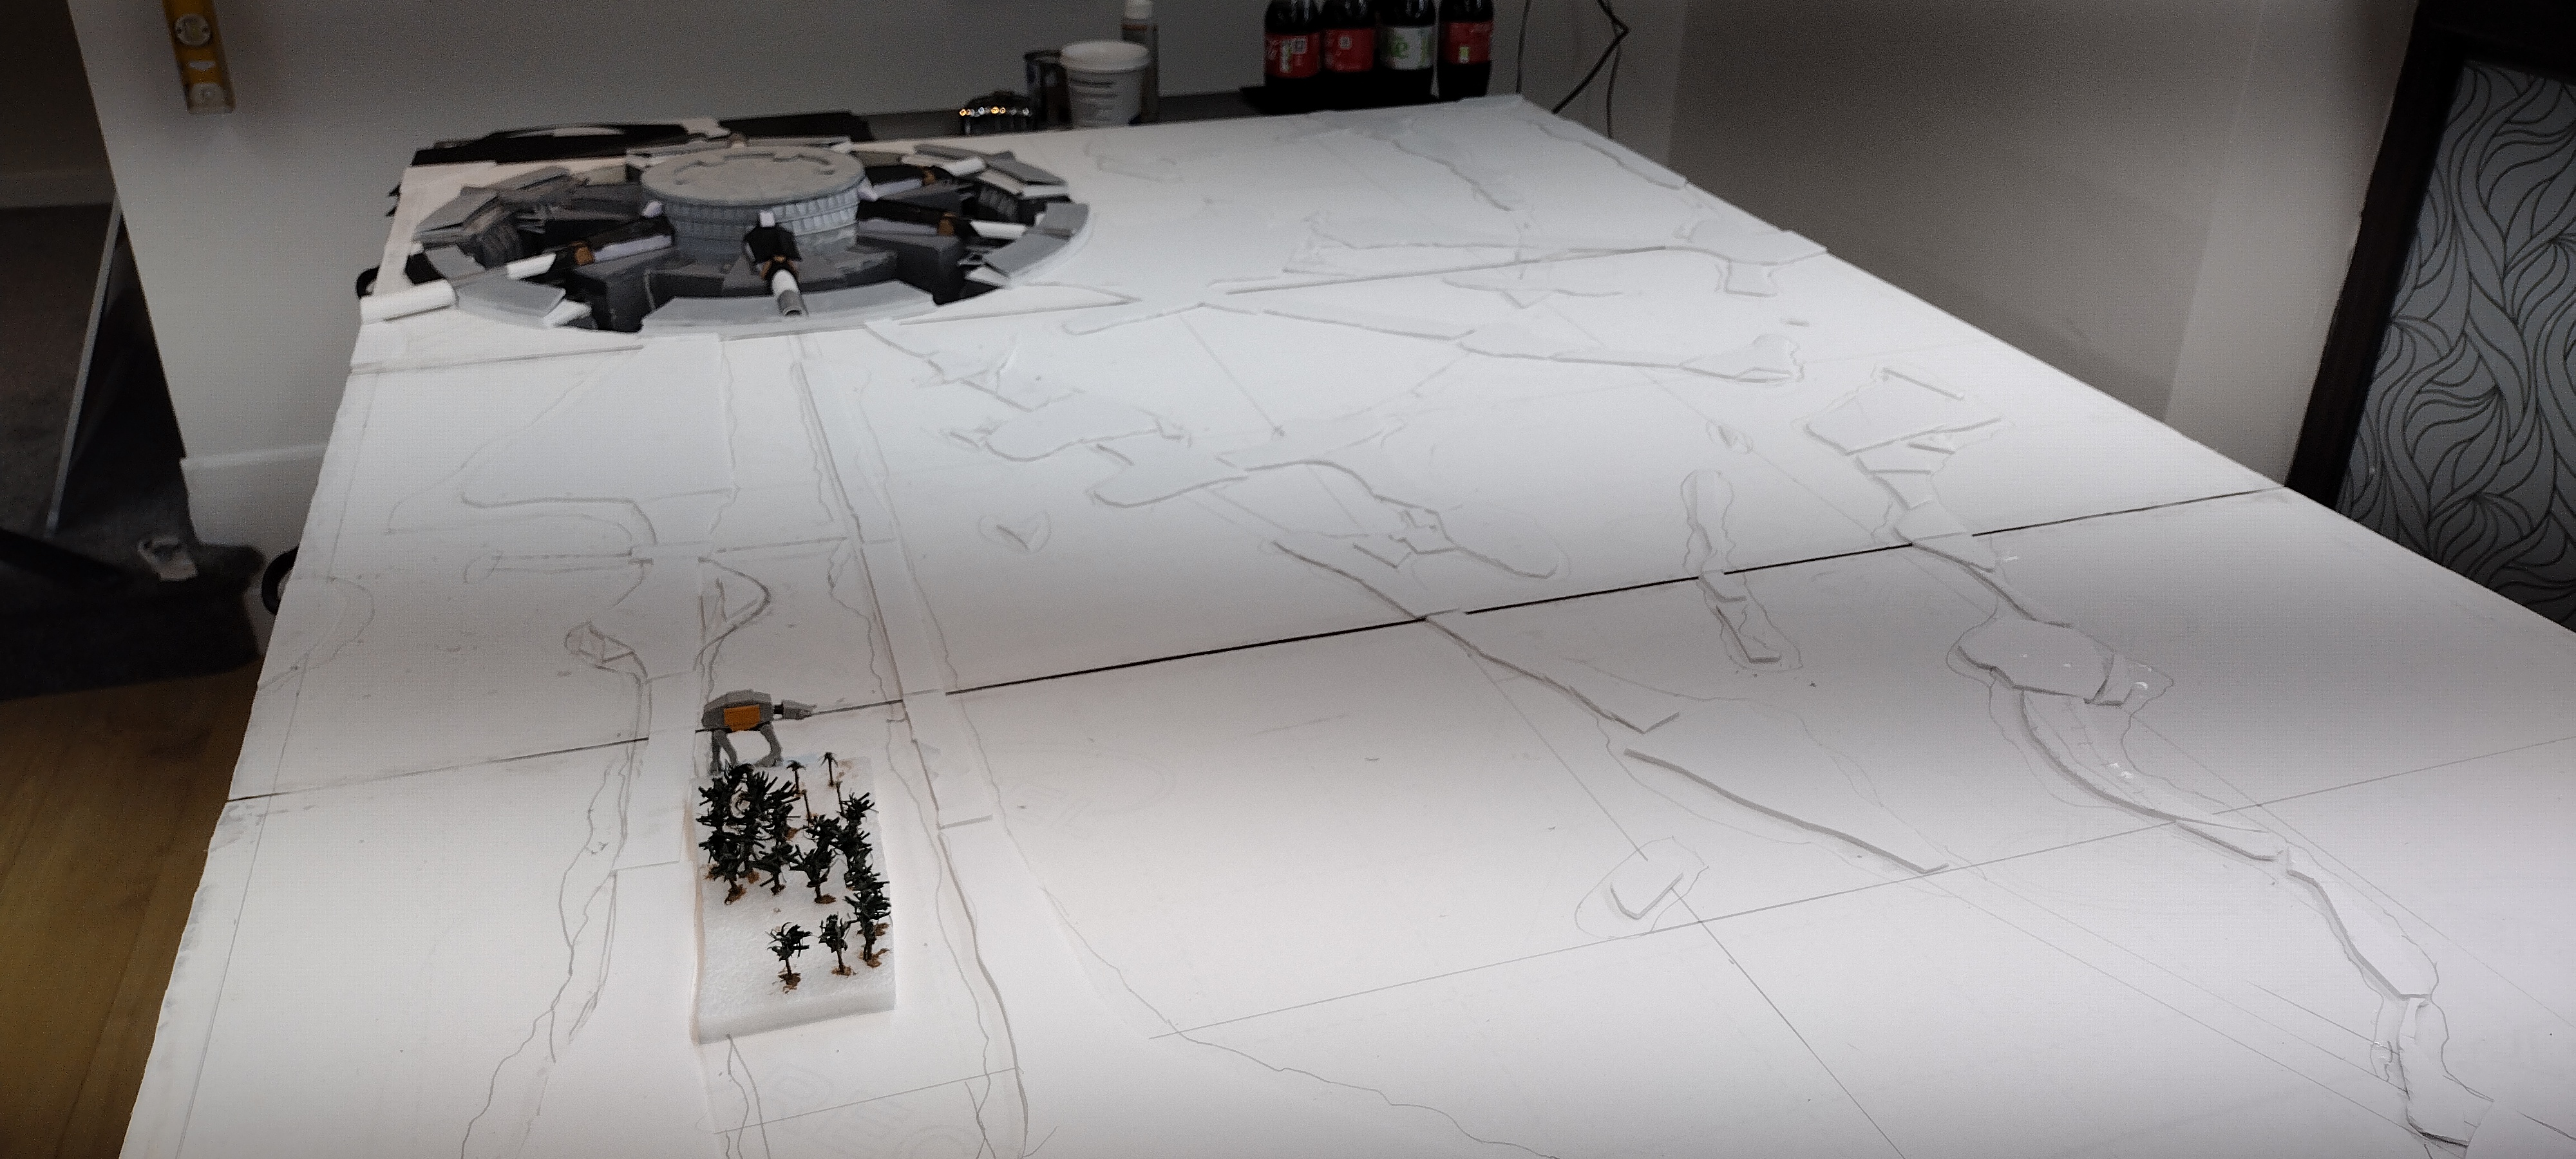
I figured I would need about a thousand trees. So once I had 400 trees I took them to place on my board. I began close to the tower and started to work outwards. Once I had the first areas done I was delighted with how they looked but it became clear that a thousand trees wasn’t going to be enough and it would be 1200 or so. This underestimating became a regular feature. Once I placed 800 I realised I needed 1600. Once I placed 1200 I realised I needed 2000. In the last week I was making trees every night and I finally added the last of my 2163 trees the day before the show.


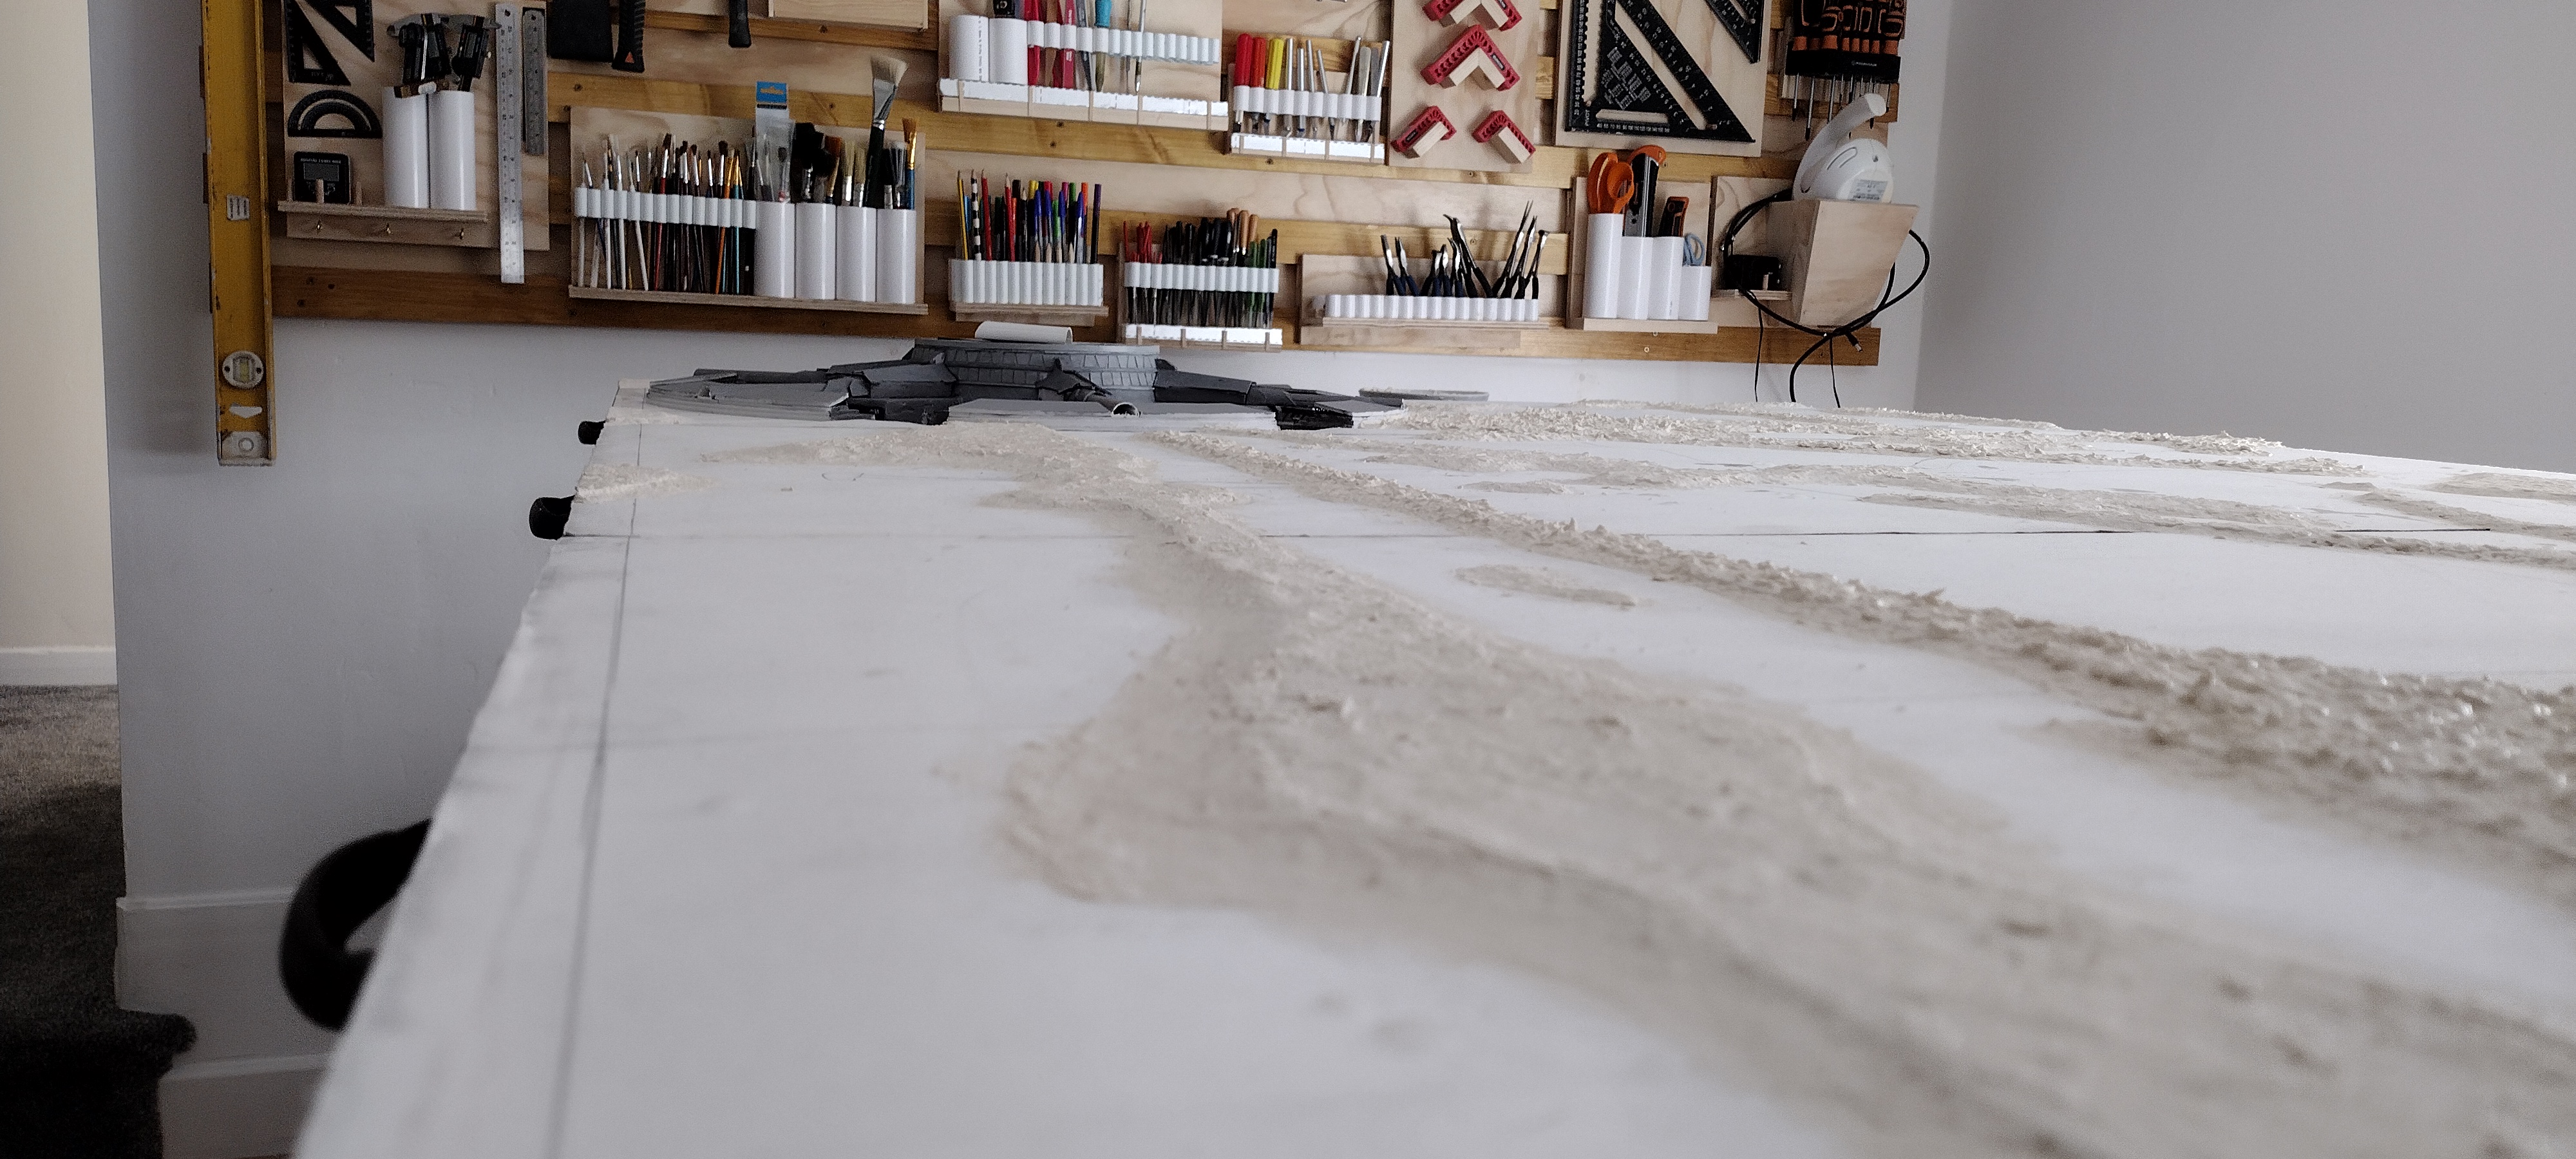
The trees really finished the board and gave me a result that looked like Scarif.


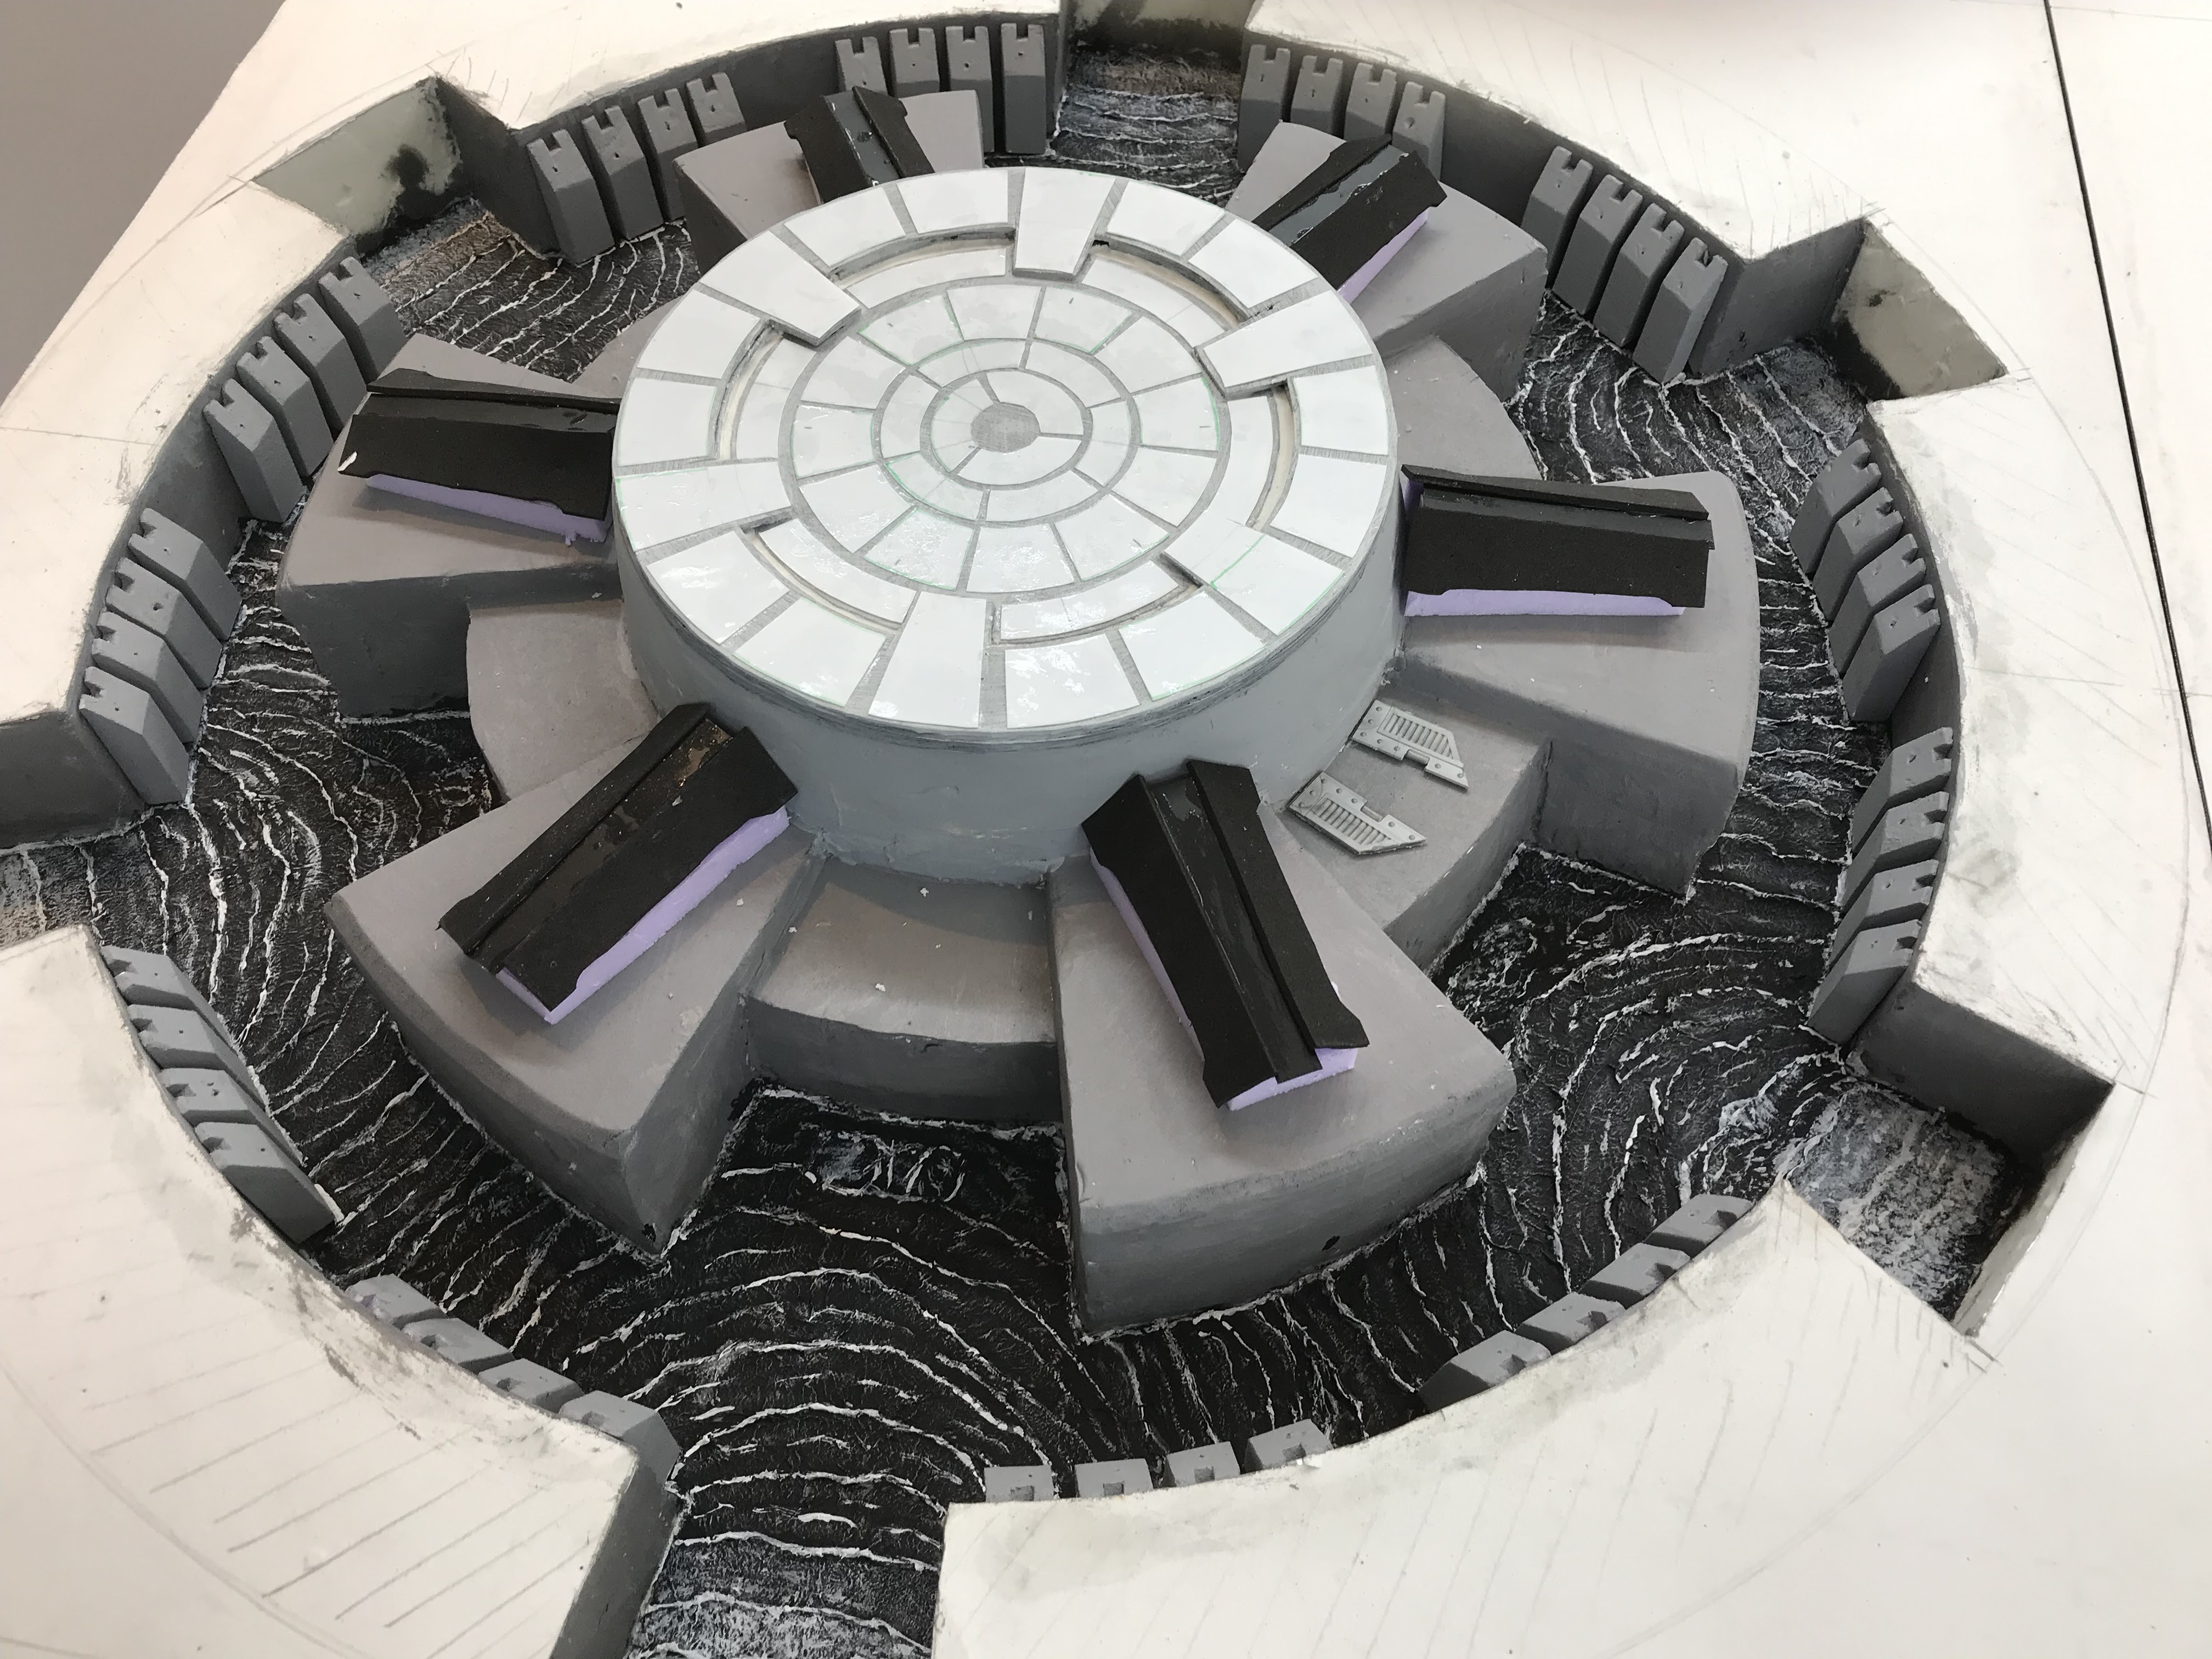
In the next post I will look at how I built the tower itself.


Until then, keep your dice rolling!


Charles the Modeller 

Friday, December 1, 2023

Battle of Scarif - adding the transit systems


One of the key features of Scarif are the various transit lines that radiate out from the citadel tower. They draw the eye to the main tower, connect the various islands and tie it all together. So having created the islands and the seas I could now add the transit systems to the board.

The map really helped because it gave me a sense of the different elements - spur connectors, covered lines, open lines and a number of different junction and terminal structures. Then it was a case of looking through all the reference photos to get an approach for each piece. The next step was to determine the positioning of the lines and then the concentric rings. I had to adjust the location of the outer ring slightly to keep a section of it entirely on the board. I marked these all out with pencil on the board.

The transit lines I created using electrical mini trunking from my local DIY store. I experimented with various sizes but essentially went for the smallest ones because the islands are not very wide and I needed the space for figures to be able to fit on them. The first sections of line, as seen in the movie, are open at the top and seem to feature maglev pods. 

For this I used the square trunking, 10mm wide and 8mm tall. It has one side that clips on, so I just removed it. The idea was to trim this piece and then insert it at the bottom of the trunking and use the ridges as the rails. The remainder of the lines I used D-line D shape trunking 16mm wide and 8mm high.

I added landing pads using small rectangles of plasticard cut to a rough size based off the map and placed on the board and edges tided up. The transit line pieces were all cut to a rough length and laid out on the board. In order to be able to use the trunking for the interconnecting rings I used a hacksaw and cut halfway through the trunking at regular intervals. I then bent the trunking evenly along its length until it conformed to the curve I needed. Using polyfiller and liquid green stuff I filled in the cuts and then sanded them smooth. Once painted they appeared smooth and like new.

Where the lines crossed over the sea I cut some styrene 3.2mm square rod and used these as support struts. I couldn’t see anything like a support in any of the photos from the movie but I needed them to help secure the trunking on to the board, particularly for the concentric rings.


The terminals were made from slightly oversized D-line junction end pieces. These were trimmed slightly and to make the overhang another doors I simply snipped a 1mm wide piece off the end of the half round trunking and glued it on.


A number of other junctions were made using oversize trunking junctions, either 90 degree angle junctions or T junctions.

Movie stills also indicated that there were a number of triangular buildings seemingly situated at key points along the transit lines. These were created by placing a straight trunking joiner at right angle to the line and then cutting a triangular block from the pink foam. Using a modelling file I then filed a depression centred on the peak of the triangle until I had created a 3mm indent. I then created a topper in the shape of a cross from the 3mm styrene rod. Several other larger structures were visible in the stills and so these were simply approximated out of the pink foam.

The transit lines ending at the base of the tower had more intricate and larger sections. The lines tended to be in groups of 3, terminating adjacent to each other. However those joining separately seemed to mirror the line opposite it. There seemed to be two types of junction, a slightly larger more intricate one on both outsides of the three and a simpler one in the middle. The middle piece used an electrical junction box used when you cut through the power cable of an appliances by accident to get it working again and a flanged electric junction piece. The outer ones used a plastic cable gland waterproof compression connector with hexagonal nuts cut into halves lengthways and more oversize trunking connectors with a triangular piece of pink foam glued on top.

Once all the pieces were in place and glued firmly to the board I simply painted them a middle grey using the same painter test pots I’d used on the base. All very straightforward once I had figured out how I was going to approach it. Other little flourishes were added in a small number of places, such as the barracks and at cargo terminals using the same connectors slightly differently. As soon as this was done the shape of the board became significantly clearer and the size of these pieces determined the size of the trees and bushes I would use to complete the layout of the terrain.

Next time I will talk about how I laid out the grass, bushes and the various solutions I looked at for trees. Until then keep the dice rolling!


Charles the Modeller 

Thursday, July 20, 2023

Battle of Scarif - creating the islands and water


Once I’d created the base of the citadel tower I could then begin to create the rest of the terrain for the board. This was essentially the islands that surround the tower and the seas that flowed between them. Once done this would allow me to see the outline of the final board and I could then begin planning the creation and placement of the transit system infrastructure. As usual I started with the map.

This build gave me an enormous amount of flexibility at this stage. It’s a made up map of a made up world and so accuracy was not a big concern and the islands are small and low so no need for complex contouring

I had reduced the tower base so that it fitted neatly into a 60cm by 60cm section of a board. I decided to slightly increase the length of some of the island chains so that they took up almost all of the length of the board. As these islands would be where most of the action took place having more area made sense. I marked my boards with 30cm squares and then marked out the edges of each island onto it.

I used 3mm deep foam boards to create the islands roughly cutting it to size. I intended to use sculptamold to cover it and to create the gently sloping beaches so each piece was cut well inside the lines marked on the board.


Adding sculptamold was pretty straightforward. The movie filmed this section in the Maldives so I looked at plenty of images of fabulous beaches before settling on Leyland Trade Magnolia paint to add into the mix because it looked right and I had a huge tub of it from an earlier decoration of my house. I added the paint to the mix before application to ensure if the surface got scratched and the interior was exposed that the colour would match. All the islands are flat so I just had to create the slopes of the beach and then wait for it to dry.

With the islands created I could now create the seas and water. The sea covers about 50% of the board and goes all the way along all the outside edges. I decided really early in the planning that a resin pour was not appropriate for this build. Scouring the internet I came across a YouTube video by Marklin of Sweden a railway modeller. He outlined a process using toilet paper and diluted PVA/ wood glue. 

I tried it first for the water reservoir at the base of the tower as this allowed me to experiment where any mistakes would not be terribly visible. The process is very straightforward, simple to do, cost efficient and delivers realistic results.

Several layers of toilet tissue are placed down, a layer at a time and thoroughly covered with watered down glue. Once all the toilet paper is down and wet an old large painting brush is used to ruche it up to create waves and to remove any pattern. With the reservoir I had to account for waterfalls and cooling inflow pipes as well as the unusual shape of the reservoir. I found it was very easy to work the tissue and create waves. Any issues could be easily rectified with more toilet paper and it remained workable for hours.

Once dry I painted the reservoir black and then dry brushed white with wave tops highlighted in white.

The sea was both simpler and more complicated. Creating the waves was fairly straightforward all I really had to do was decide on the basic wind/ tide direction and then adjust slightly for the various islands. The sea shown in the movie is fairly flat and tame so I didn’t have to show much in the way of wave tops. So again toilet paper and glue was used with the same ruching process. Straightforward but time consuming. I papered over the joints in my 3 boards as I figured it would be easy to cut and would minimise visible joins when the board was completed.


I then began to create the races towards the tower weirs and waterfalls. I cut styrene strips to create the weir crenellations. I then used the toilet paper water system to simulate the water rushing towards the falls. This was fairly simple to do and the tissue easily malleable even when being pressed between the weir tops.

The complication came from creating the colouring of the sea and the blending in of the various colours. A visit to my local DIY store resulted in 4 paint taster pots with various shades of blue.

I worked in small sections about 30cm square and began by painting the sections by the beach. This was just a 1-2 cms wide strip. I then painted another strip right alongside it and then quickly painted the next colour alongside that and blended the second and third strips. This process was repeated until all four colours had been painted on. The further away the beach was the wider and bluer the colours became. The final blue was just a bit too deep a blue for me so I mixed the previous shade with it slightly to lighten it. 


The process was then repeated until the whole sea had been painted. I then added some green paint in various shades and highlights in areas I judged were likely to have slower moving water to simulate underwater weeds and plants.

I then left it an entire week to dry before I put the first layer of varnish on it. I used an interior/ exterior gloss varnish. After the first coat dried I coated it with an undiluted wood glue that dried clear. This helps give the illusion of depth. Once that dried then I just applied more and more coats of varnish until my tin ran out. I think I put six coats of varnish on in total.

The result was a shiny blue sea of varying hues. I decided after looking at the movie and images of the Maldives that highlighting wave tops with white was not required and with that decision the sea was complete.

The addition of the six waterfalls was one of the last things I did on the board but they could easily have been added at this stage if I had wanted to. Again Marklin of Sweden was my inspiration with this really useful video.

I cut 0.25mm thick plasticard shapes that fit the vertical area behind the waterfalls. I painted the top 1cm or so with grey paint and then marked the location of the weir crenellations.

I used Liquitex acrylic medium for paint, a gloss gel that applies white but dries clear and shiny to help create the falls. I took a small amount of synthetic pillow stuffing and teased or twisted it into a thin strand. I applied a small amount of the gel to the plasticard down between a crenellation and pushed my strand into it. This lightly held the strand in place. I could then adjust the layout and spread of the fall. I made sure the fall was tighter at the top and that it spread out as it got closer to the bottom. More acrylic medium was generously added until the pillow fibres on the plasticard were covered in it. I tried to keep the fibres that hung over the bottom of the card free from the medium.

Additional strands were added in sequence until the whole of the plasticard was covered with 12 separate falls. I did not cut the strands perfectly to length at this stage but as they dried I did attempt to bend the tops and bottoms to aid placement on the model. 

Once fully dry I highlighted them with white paint to pick out each individual fall. I tried diluting soft tone inkwash and adding that but I wasn’t happy with the result. I found just having the extra whiteness of the paint was perfectly sufficient for the effect I was after.

I was able to then trim the plasticard to fit each waterfall, mostly by cutting thin strips across the top. I trimmed the overspill at the bottom but kept most of it and teased it out so that it would simulate the mist generated by a large waterfall. The card was pinned in place whilst a mix of contact glue and gorilla glue dried. I filled any small gaps and painted it white and then applied the gloss gel to seamlessly join the falls to the sea on the board.

With the sea and land created I had the main elements of the board in place, next time I will look at the creation of transit system that crisscrosses the board.


Keep your dice rolling!


Charles the Modeller 


Battle of Scarif - All Finished

So in my last post I said my next blogpost would be on building the citadel tower. Well I am so far behind in posting updates on my blog tha...